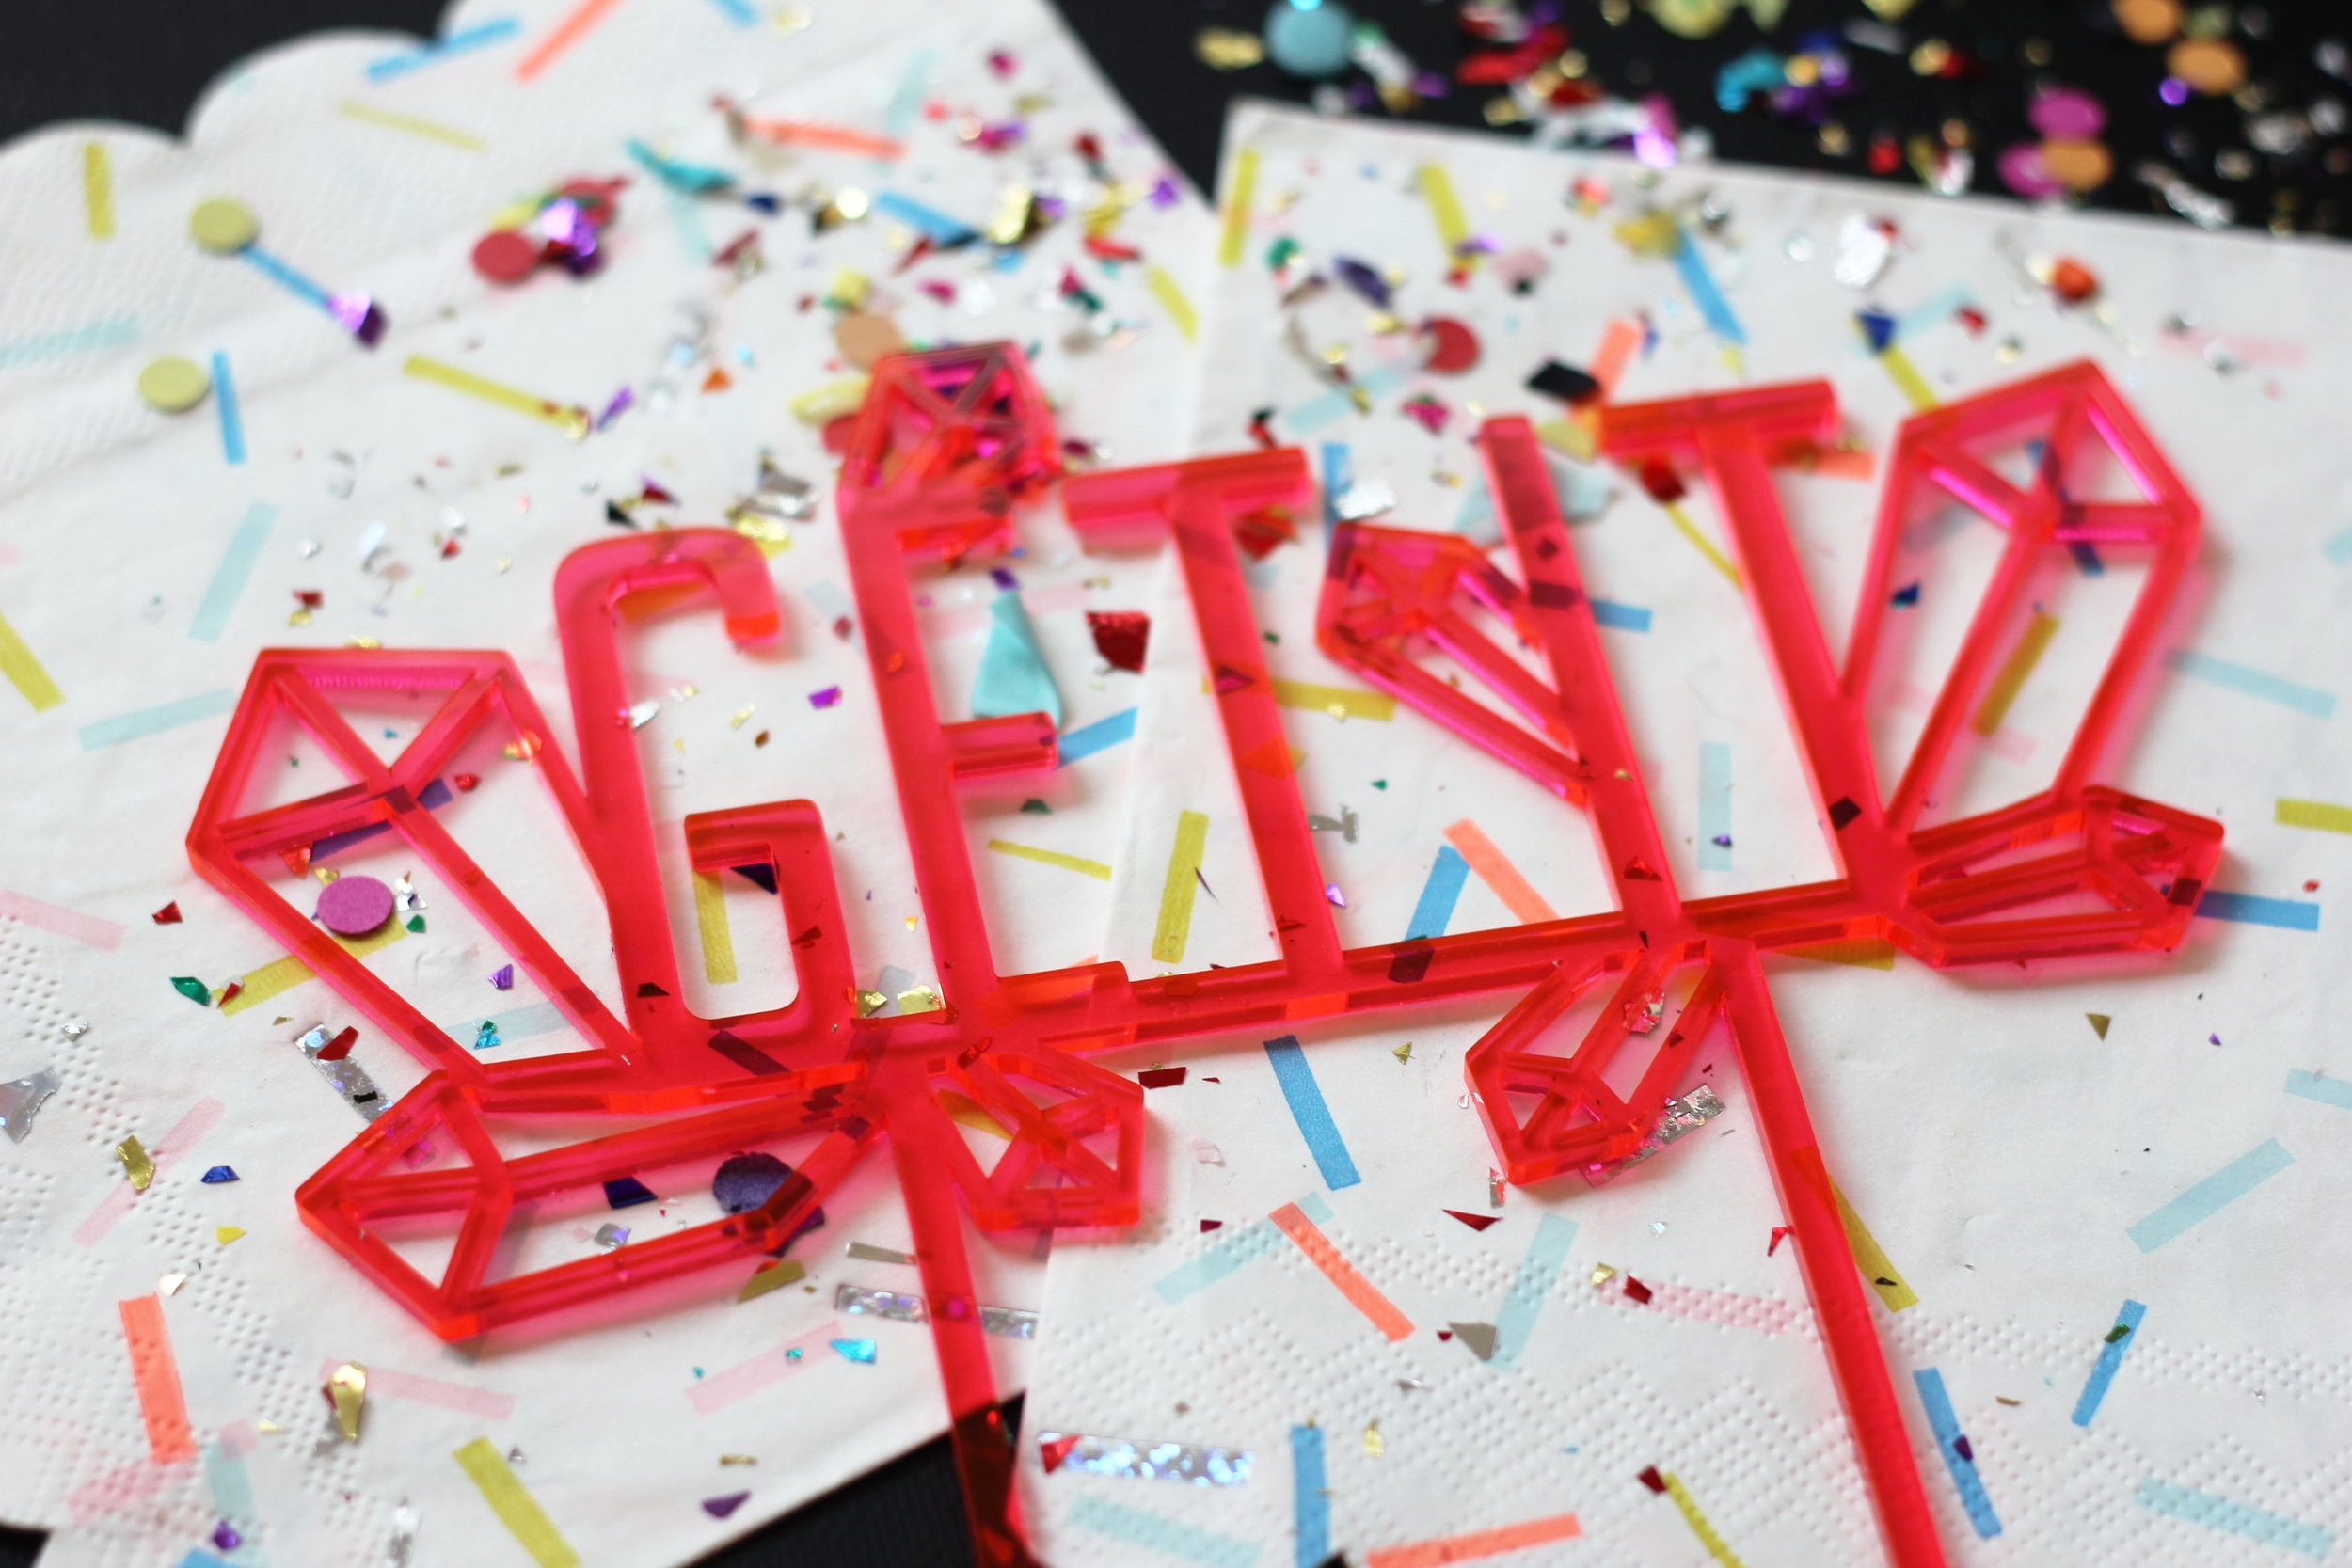
“Ponte las pilas” literally means “put on the batteries.” It’s true meaning however translates is somewhere between “Get Going!” And “Put in an extra effort.”
Lately, my extra effort has been in a daily practice of design and illustration. It’s fun, but also a good exercise for my design and art muscles. Hopefully, some of the best bits will get used for Moonish Goods, too. T-shirt, anyone?
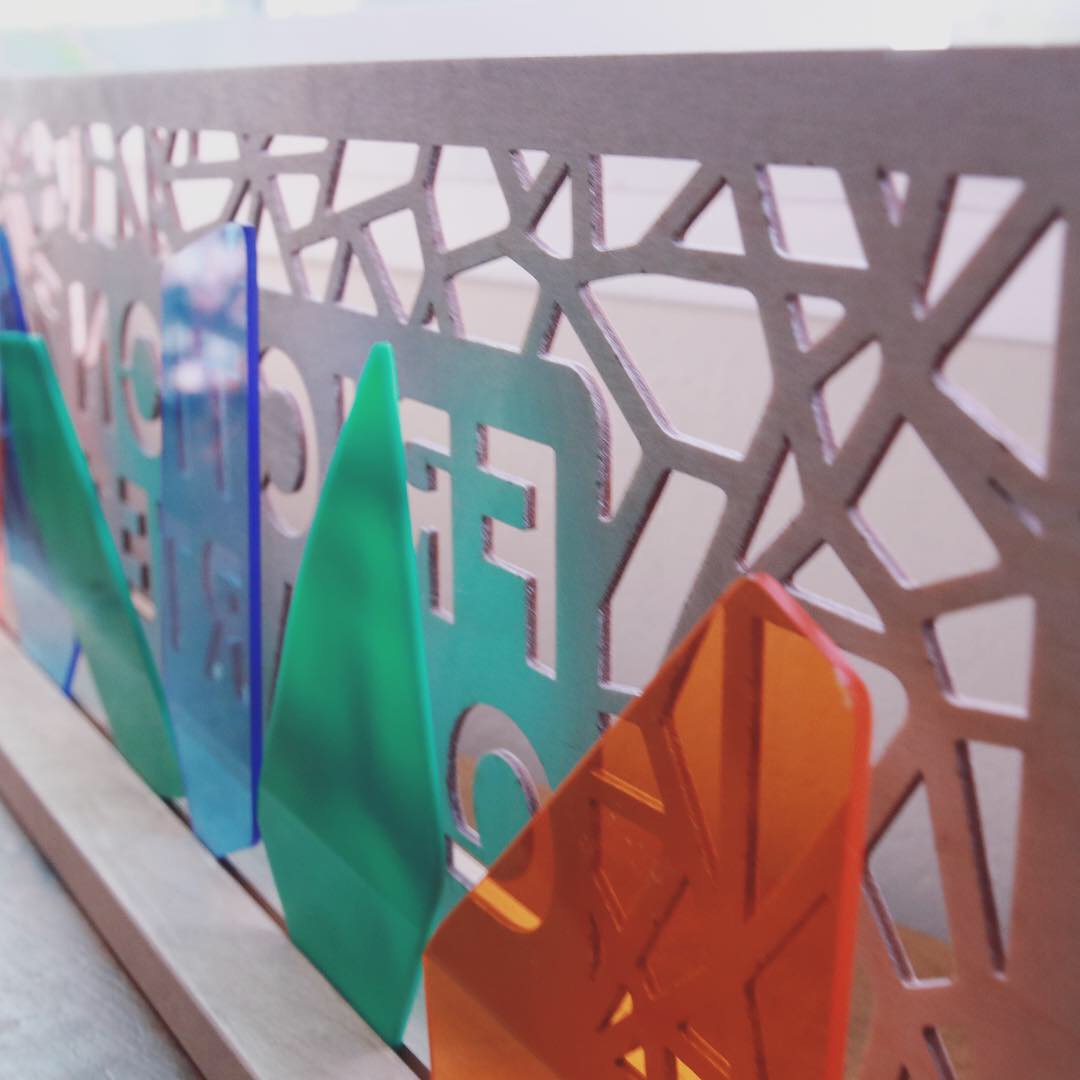
So pleased with how this sign for Friction Quartet turned out.
Laser cut out of birch ply with a fractured pattern around the music group’s name.
I added a second trough behind the wooden sign to add movable acrylic shapes. I wanted to have a way for Friction Quartet to customize and compose their own sign each time they used it.
A modern and colorful design that was inspired by both photographs of the Bolinas, CA coastline at sunset, and the sweet ebb and flow of sounds crafted by Doug Lee, Ruthie Dineen and Steve Weems of RDL+.
Listen to some of their tunes here. And watch some here.
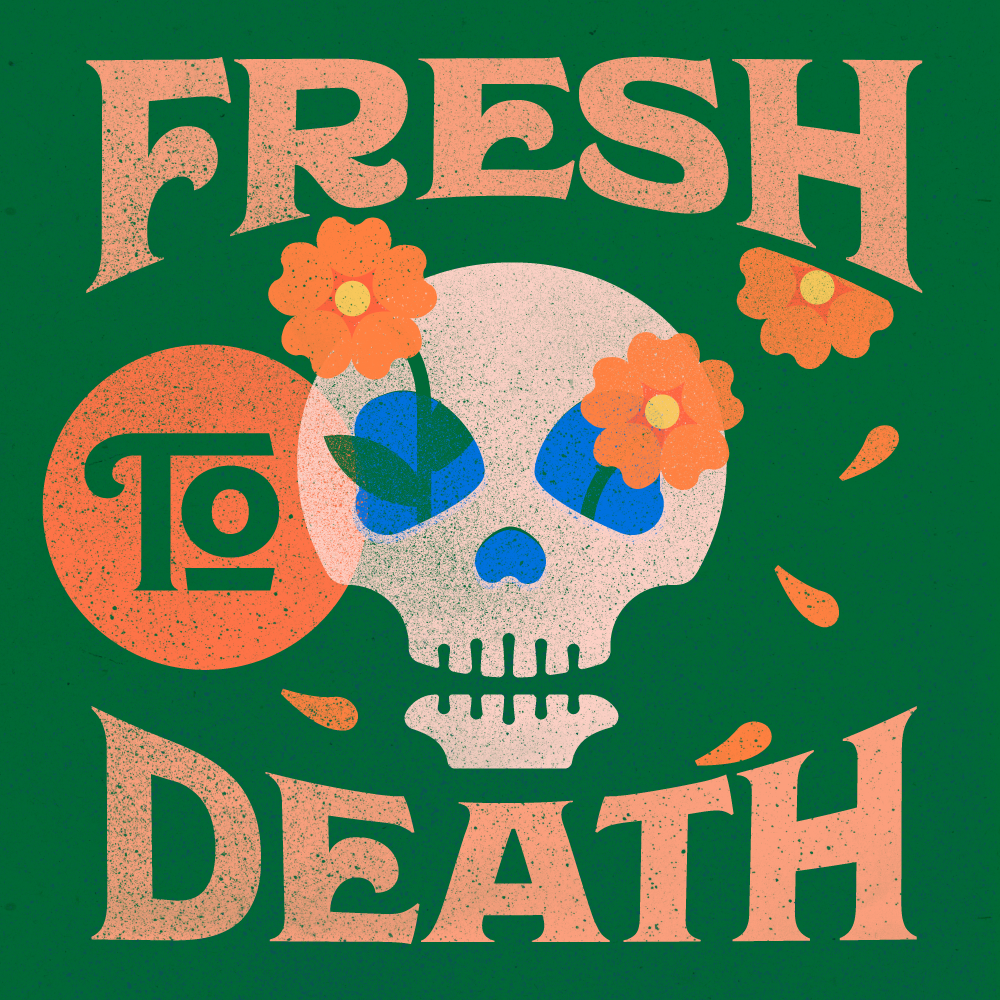
I have had a lot of current-events fueled anxiety lately and one big help has been to channel my energy and rage into making. I designed this poster for the Keep Families Together Rally. While political posters and political artists have been a huge influence and motivator for me as both an artist and a designer, this was my first time designing one.
El Cucuy is the Mexican/Latin American equivalent of the boogeyman, a mysterious, ambiguous monster that kidnaps children. I thought it an apt metaphor for Trump and his administration’s atrocious treatment of immigrants and their child separation policy. But if you’re not familiar with El Cucuy I tried to signal the monster vibe with dark and drippy contours and colors inspired by vintage b-movie horror films.
I had originally intended to laser cut this out of wood or acrylic and possibly use as a stencil which is why all the pieces connect and web out. In the end I had it printed before the protest. Definitely helped me feel like I DID something, even if it wasn’t much.
My good friend Michael Charles Smith needed a logo for his innovative musical education program Marimba Lab. Also made for him was a laser cut sign to hang on his marimba. Photos of that coming soon!
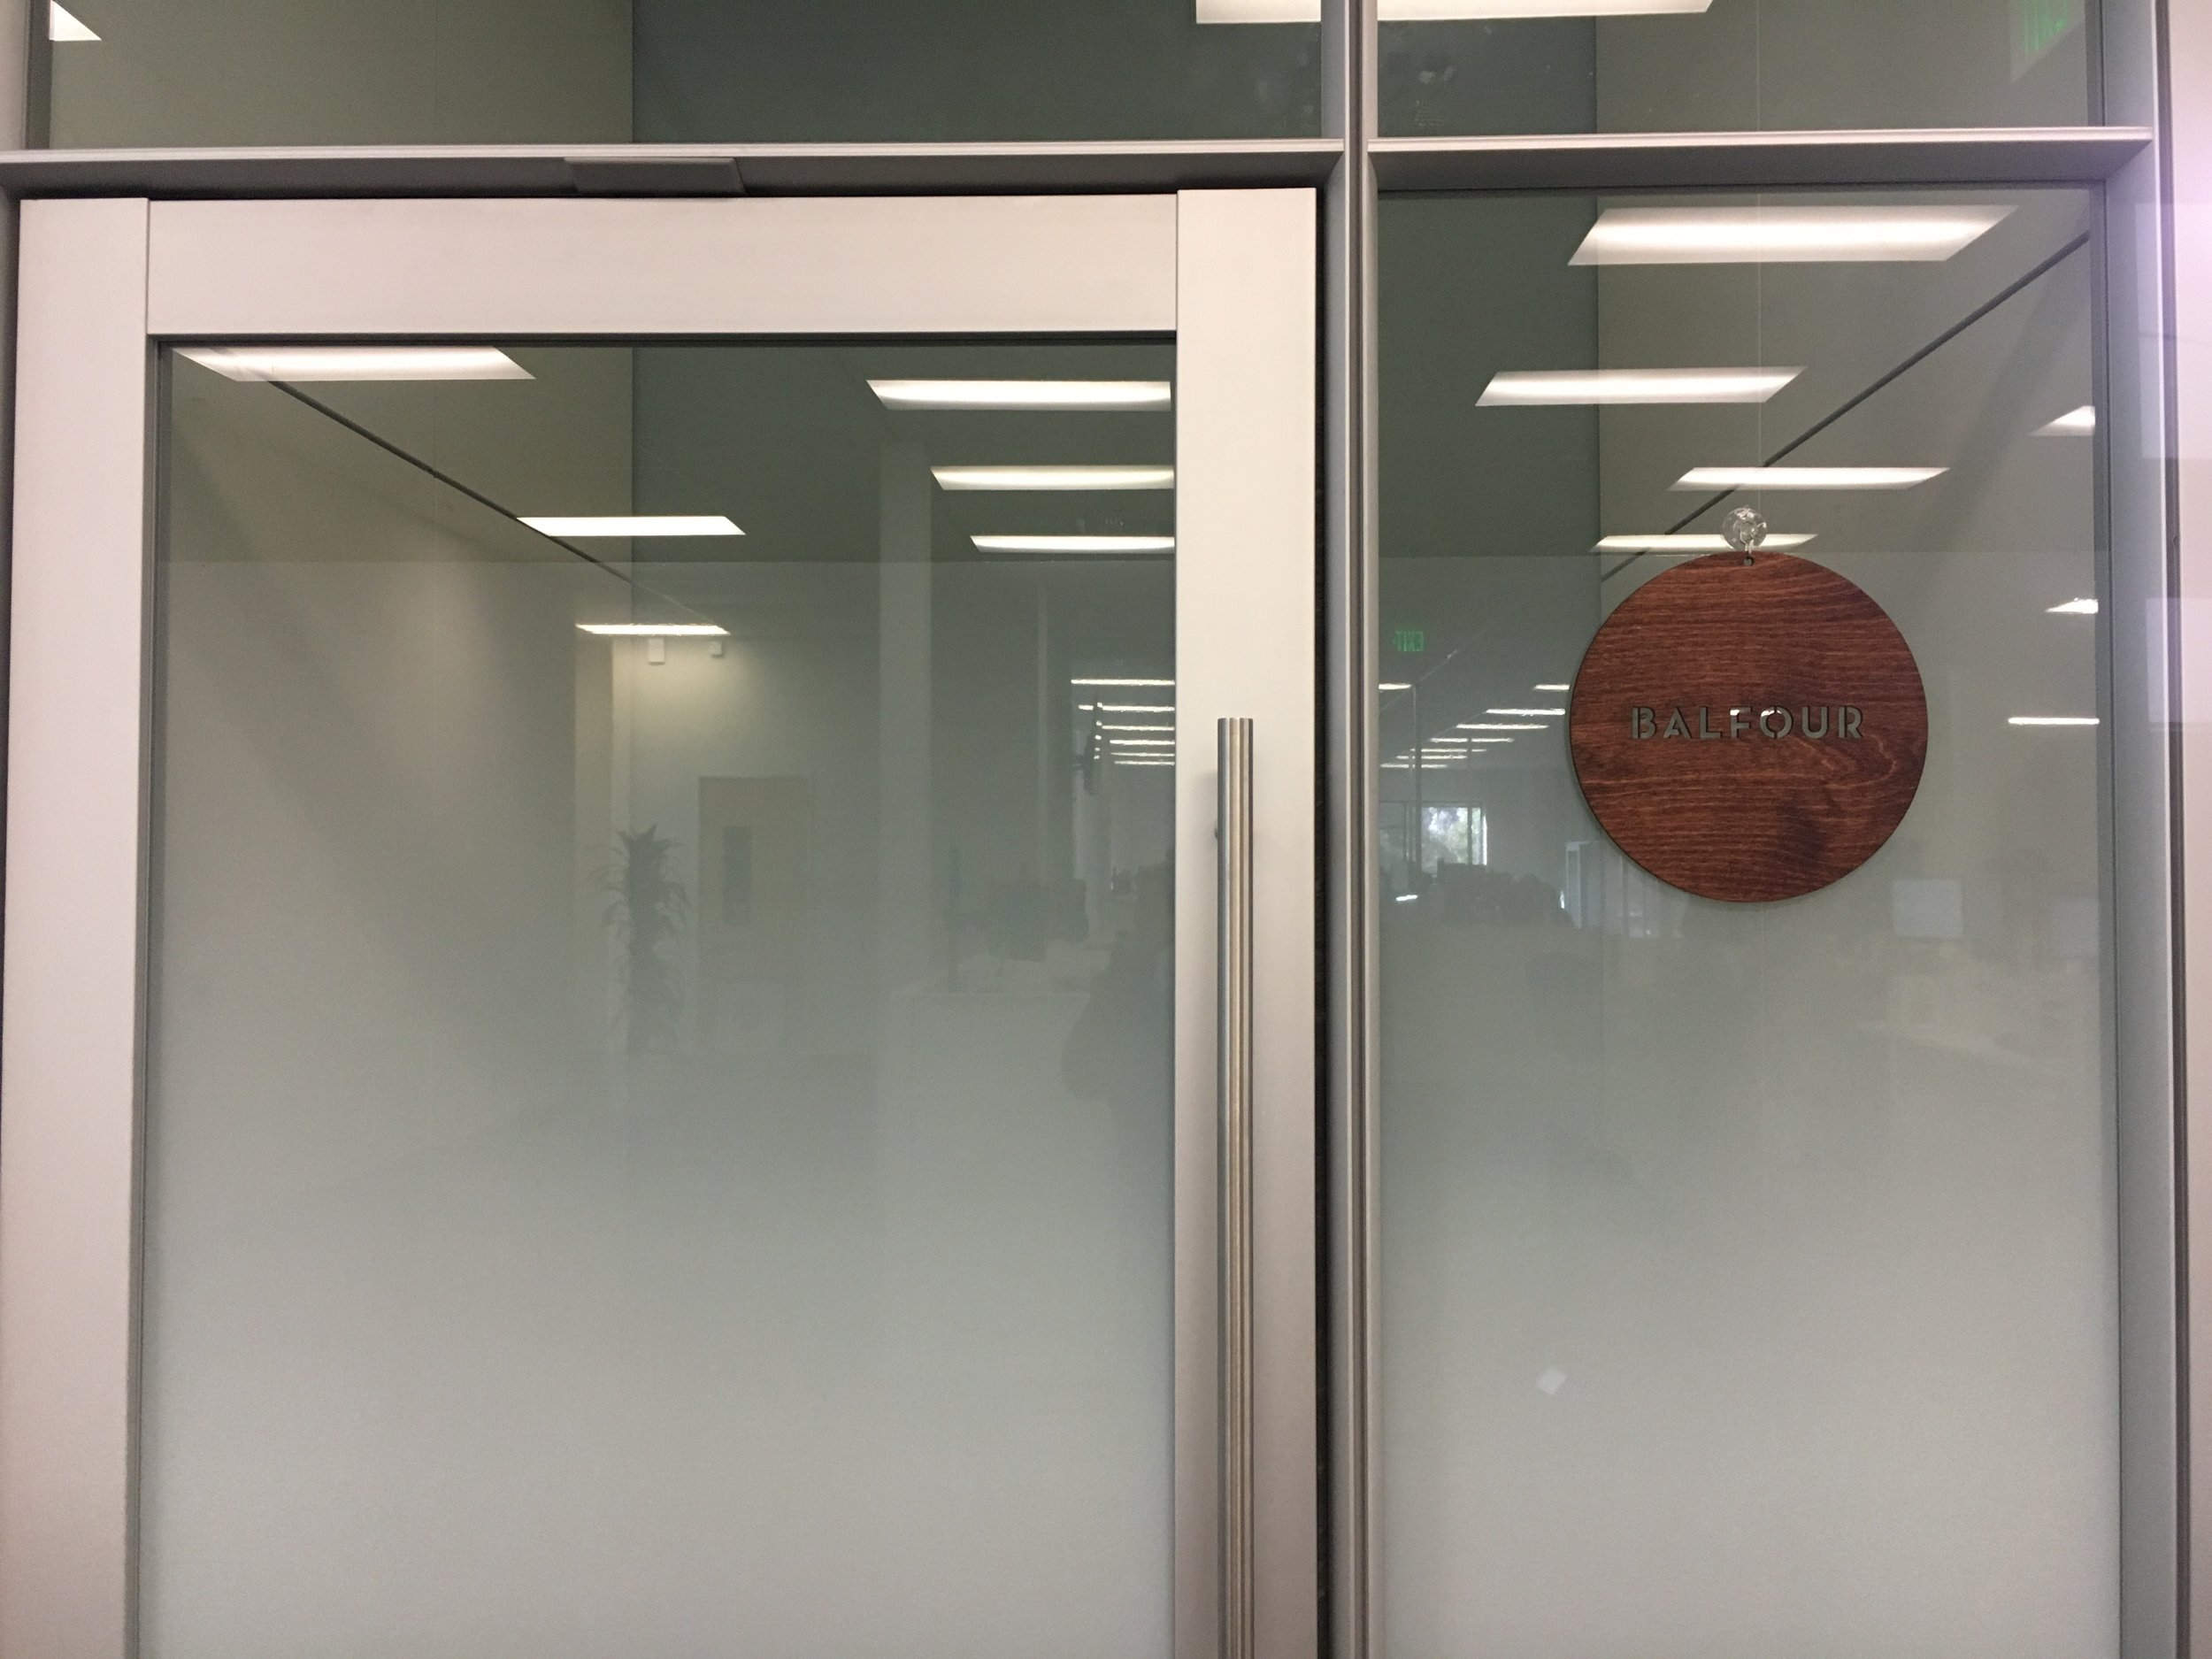
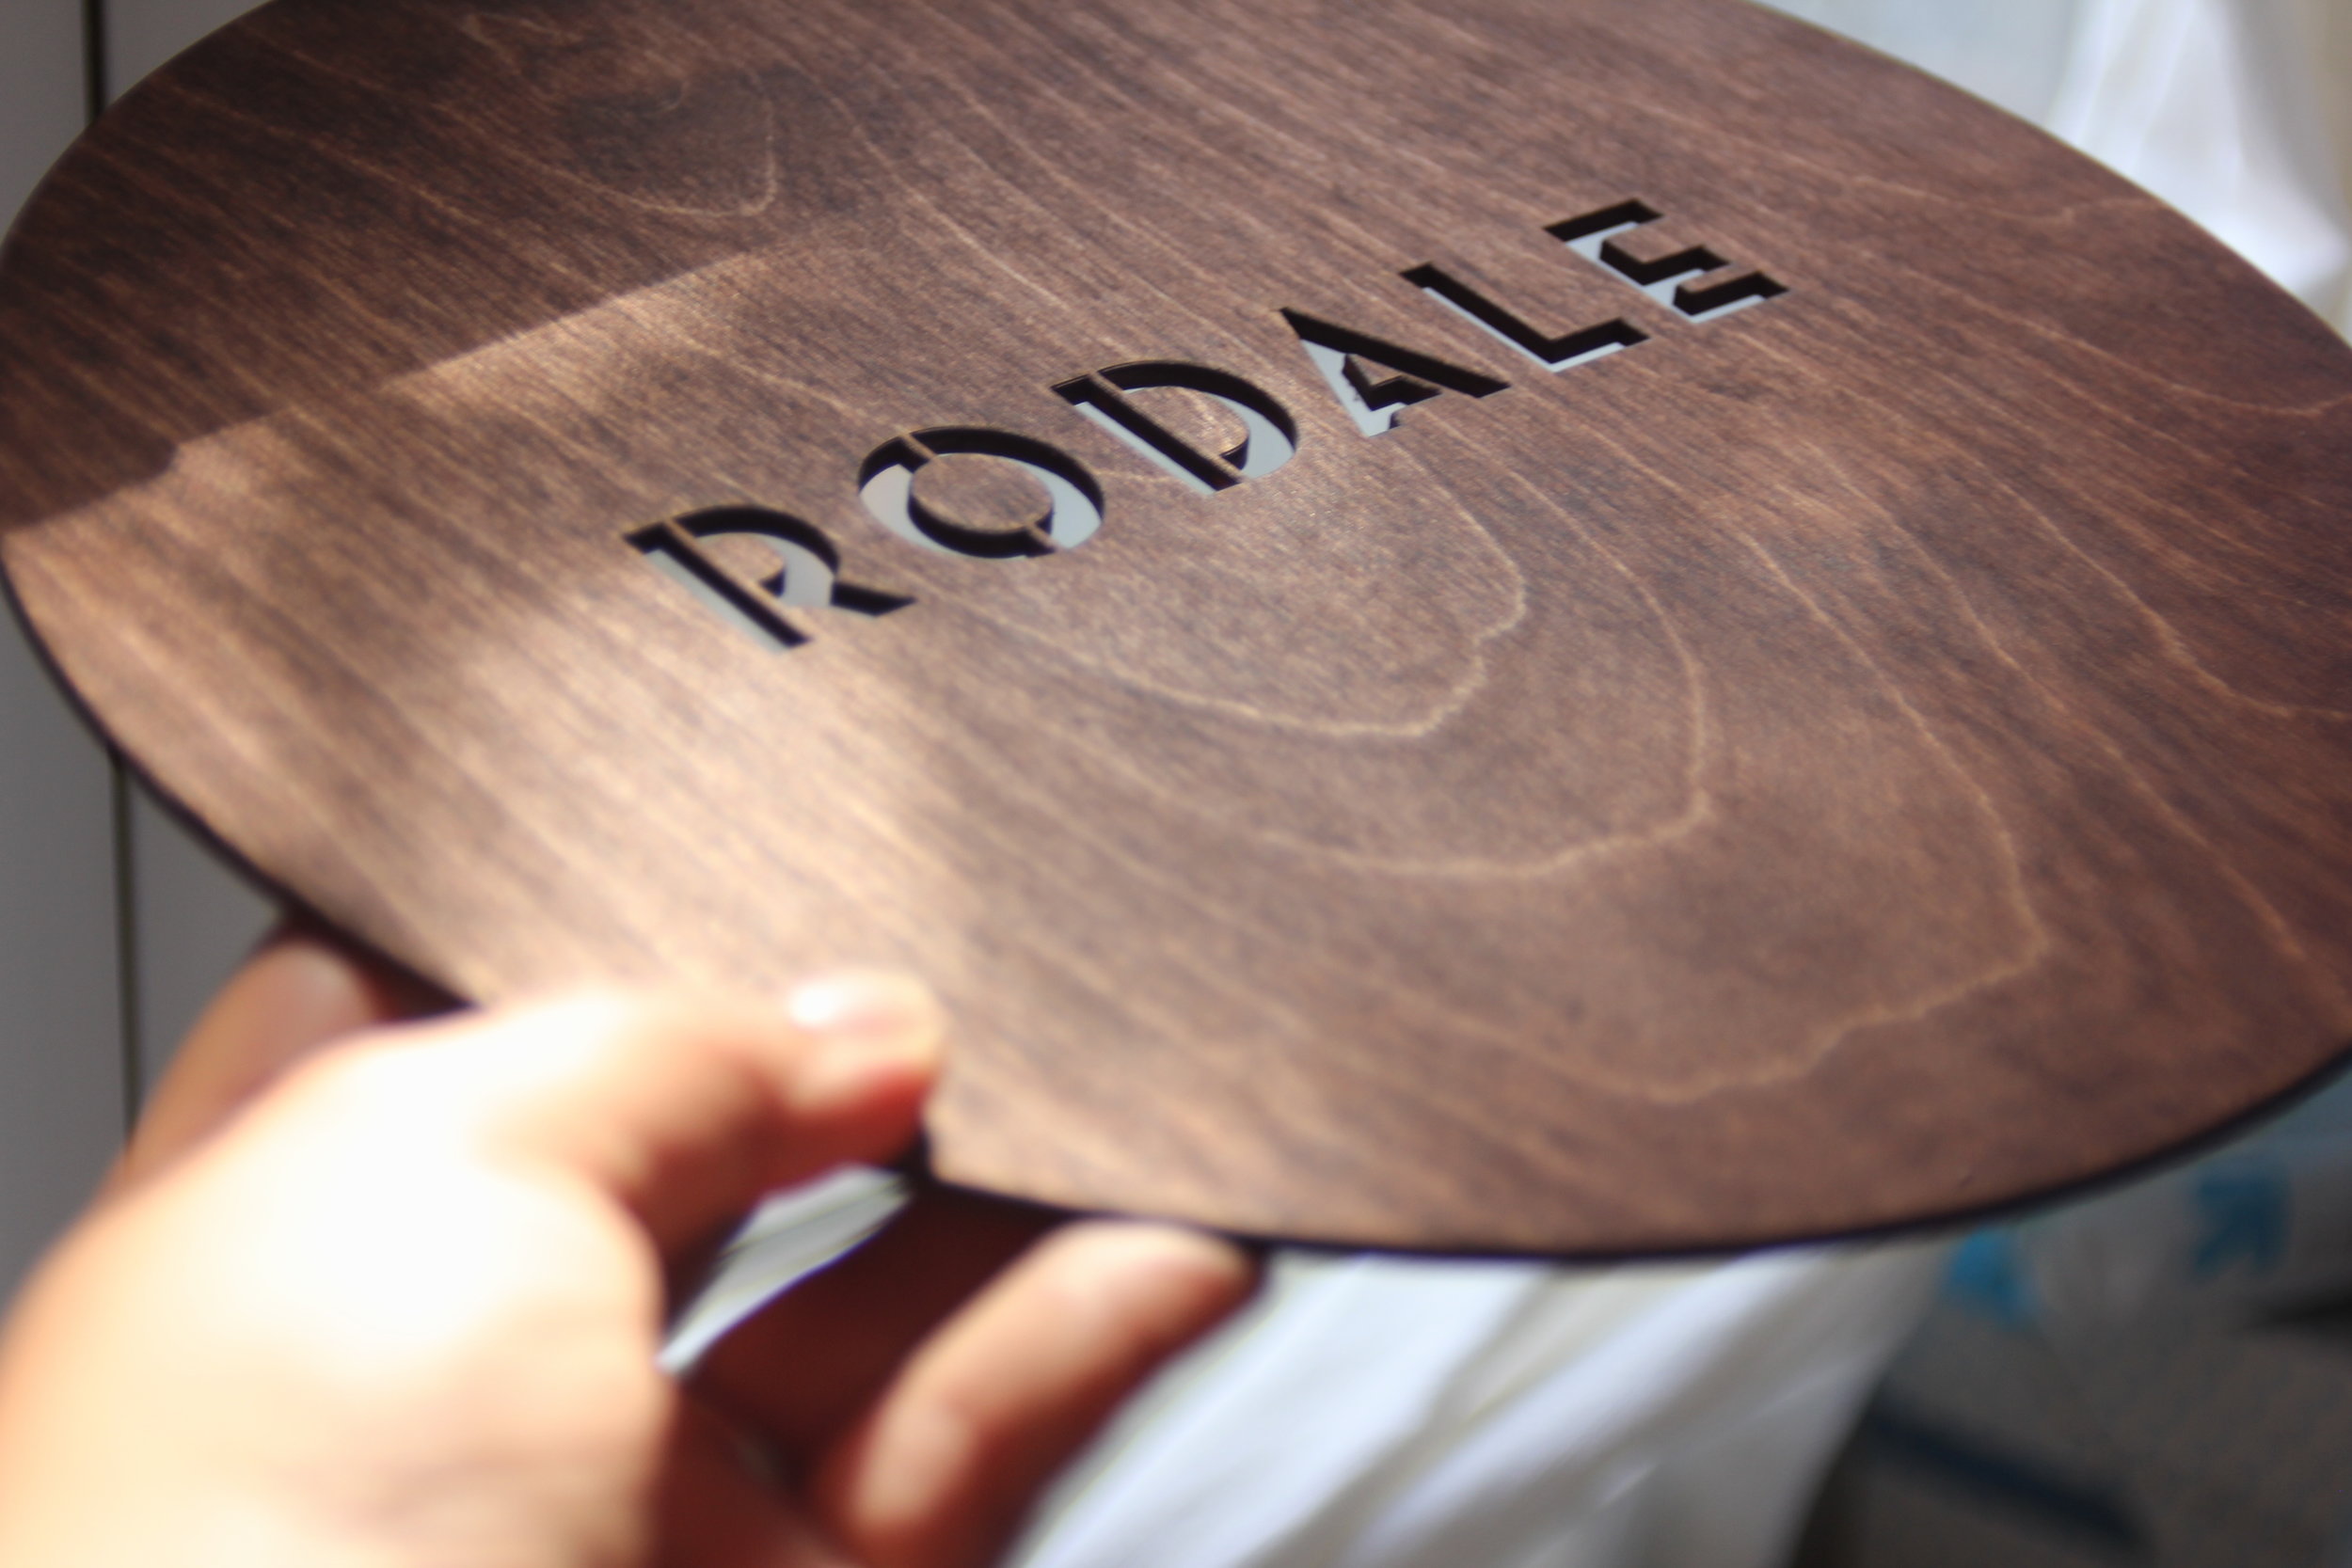
A couple of months ago I had the opportunity to laser cut these elegantly minimal conference room signs. Each one was laser cut out of birch plywood, but then stained a beautiful red oak. They're now hanging in the offices of CCOF (California Certified Organic Farmers).
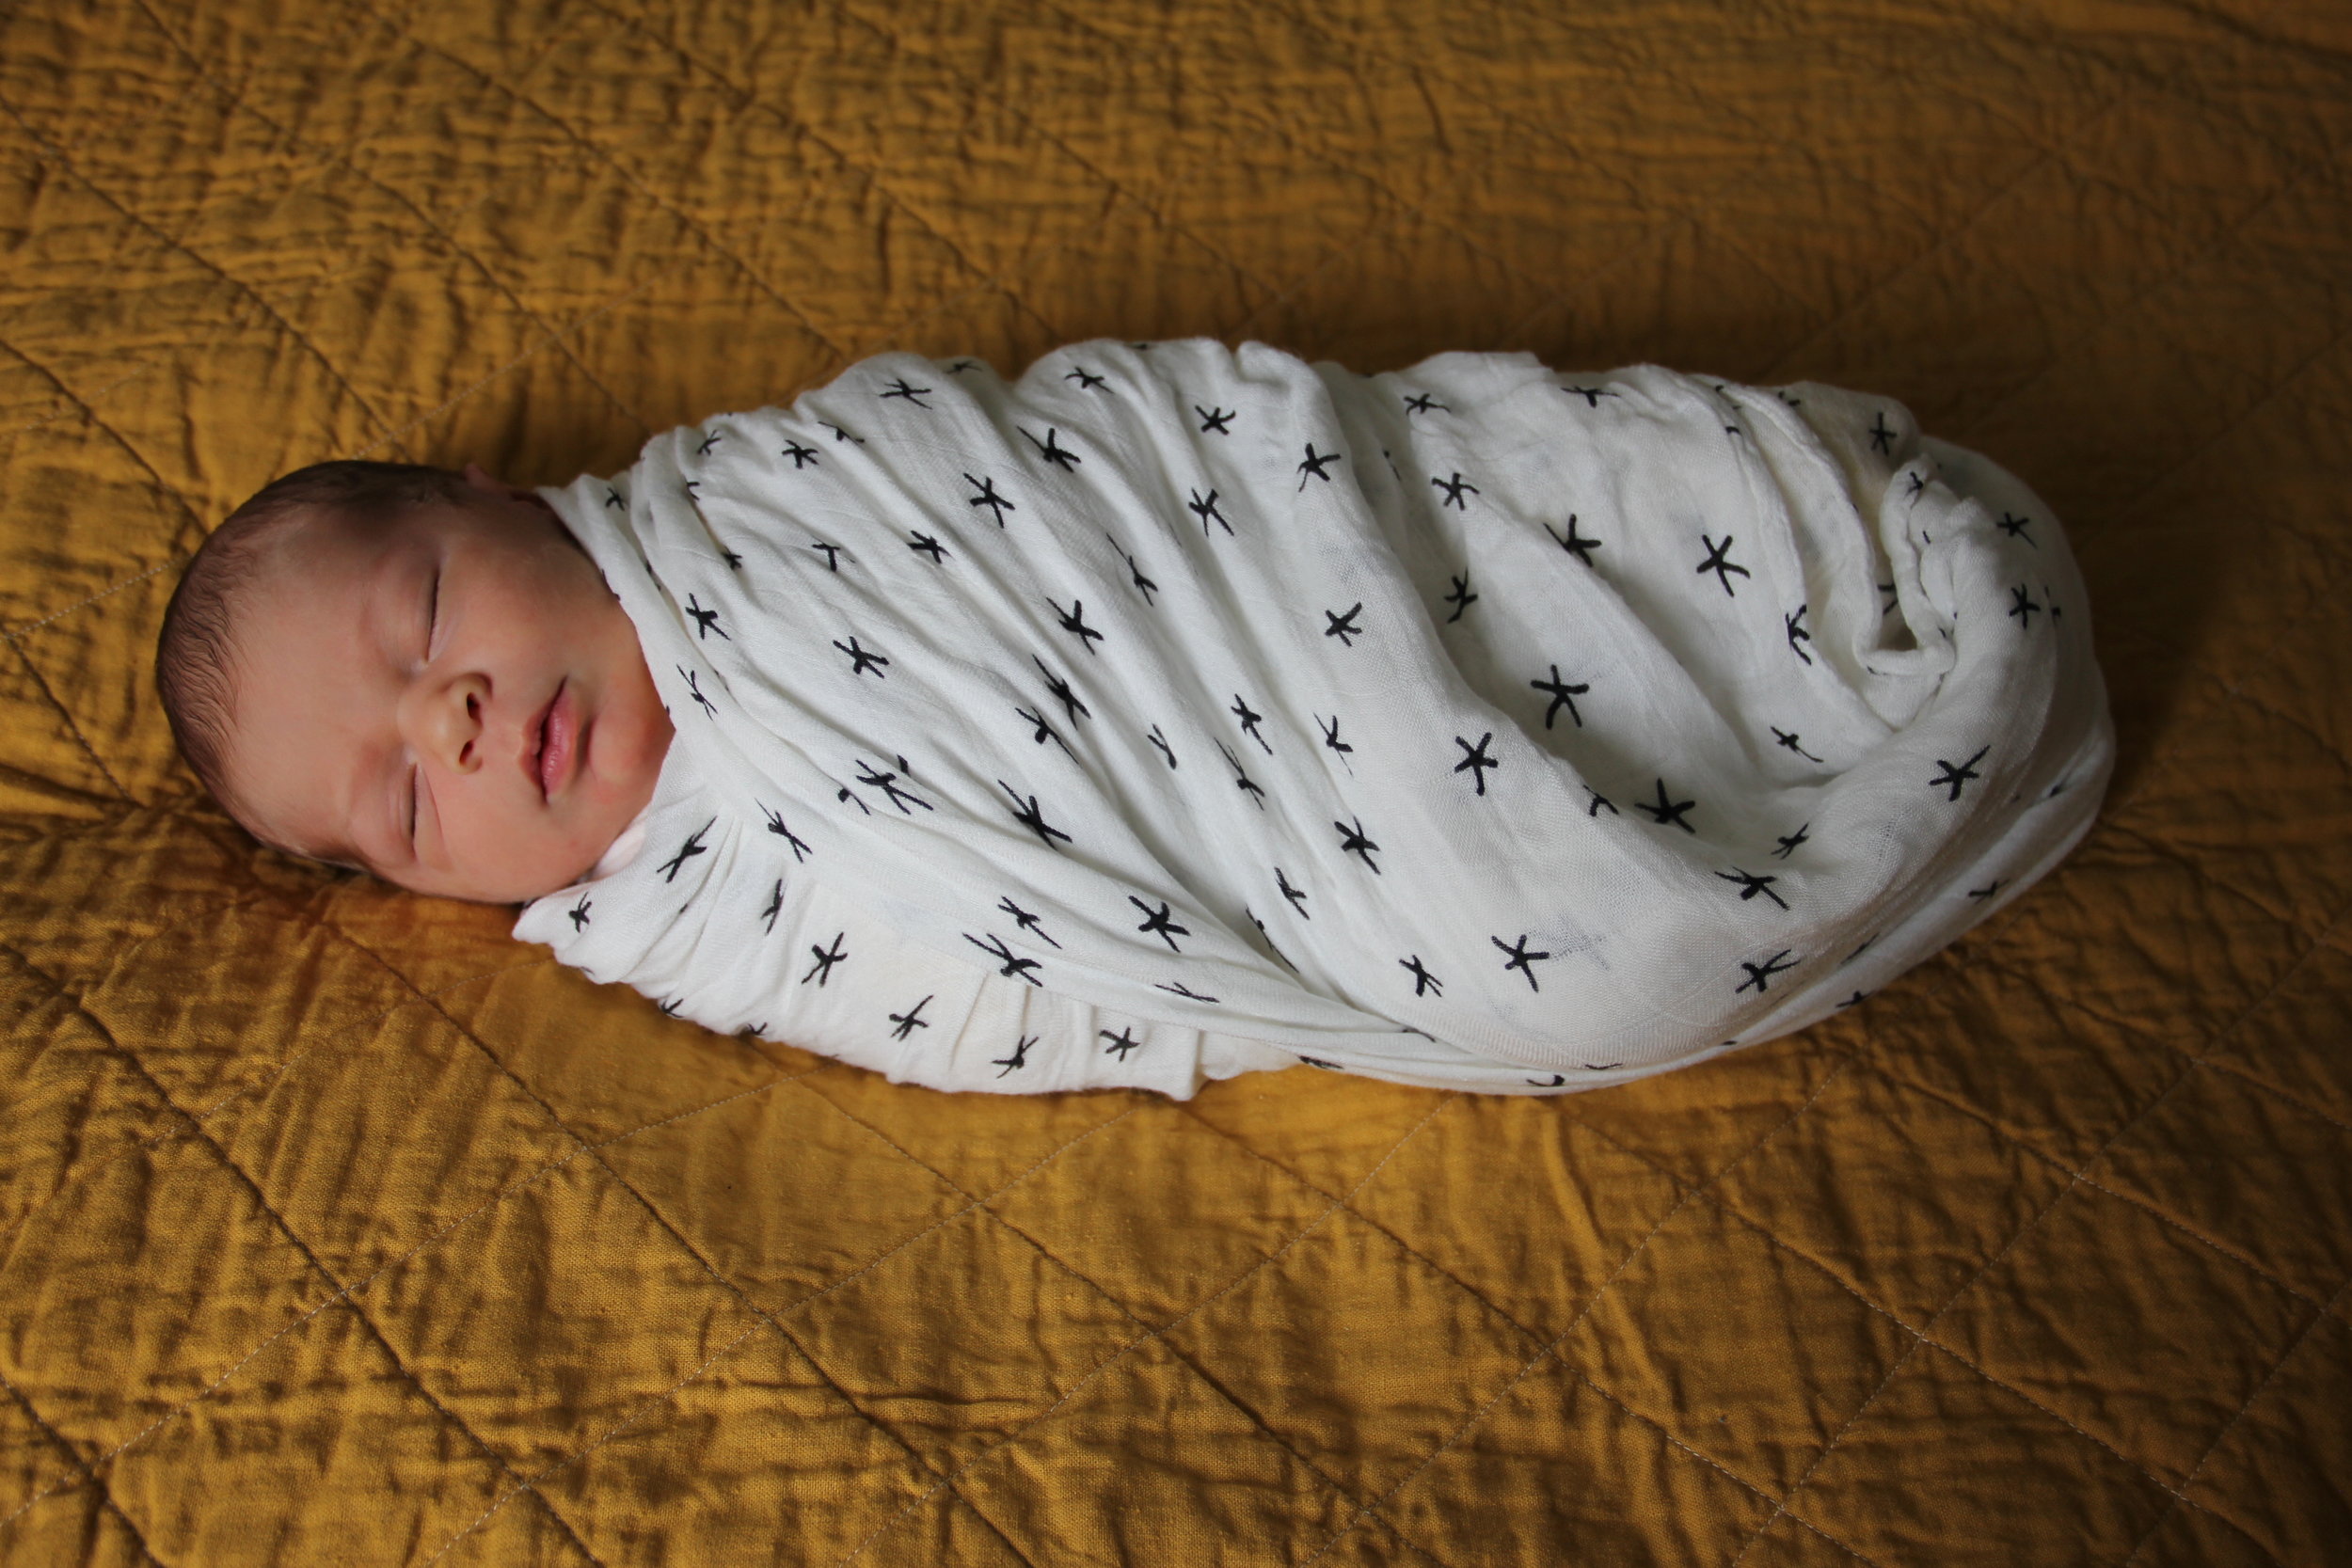
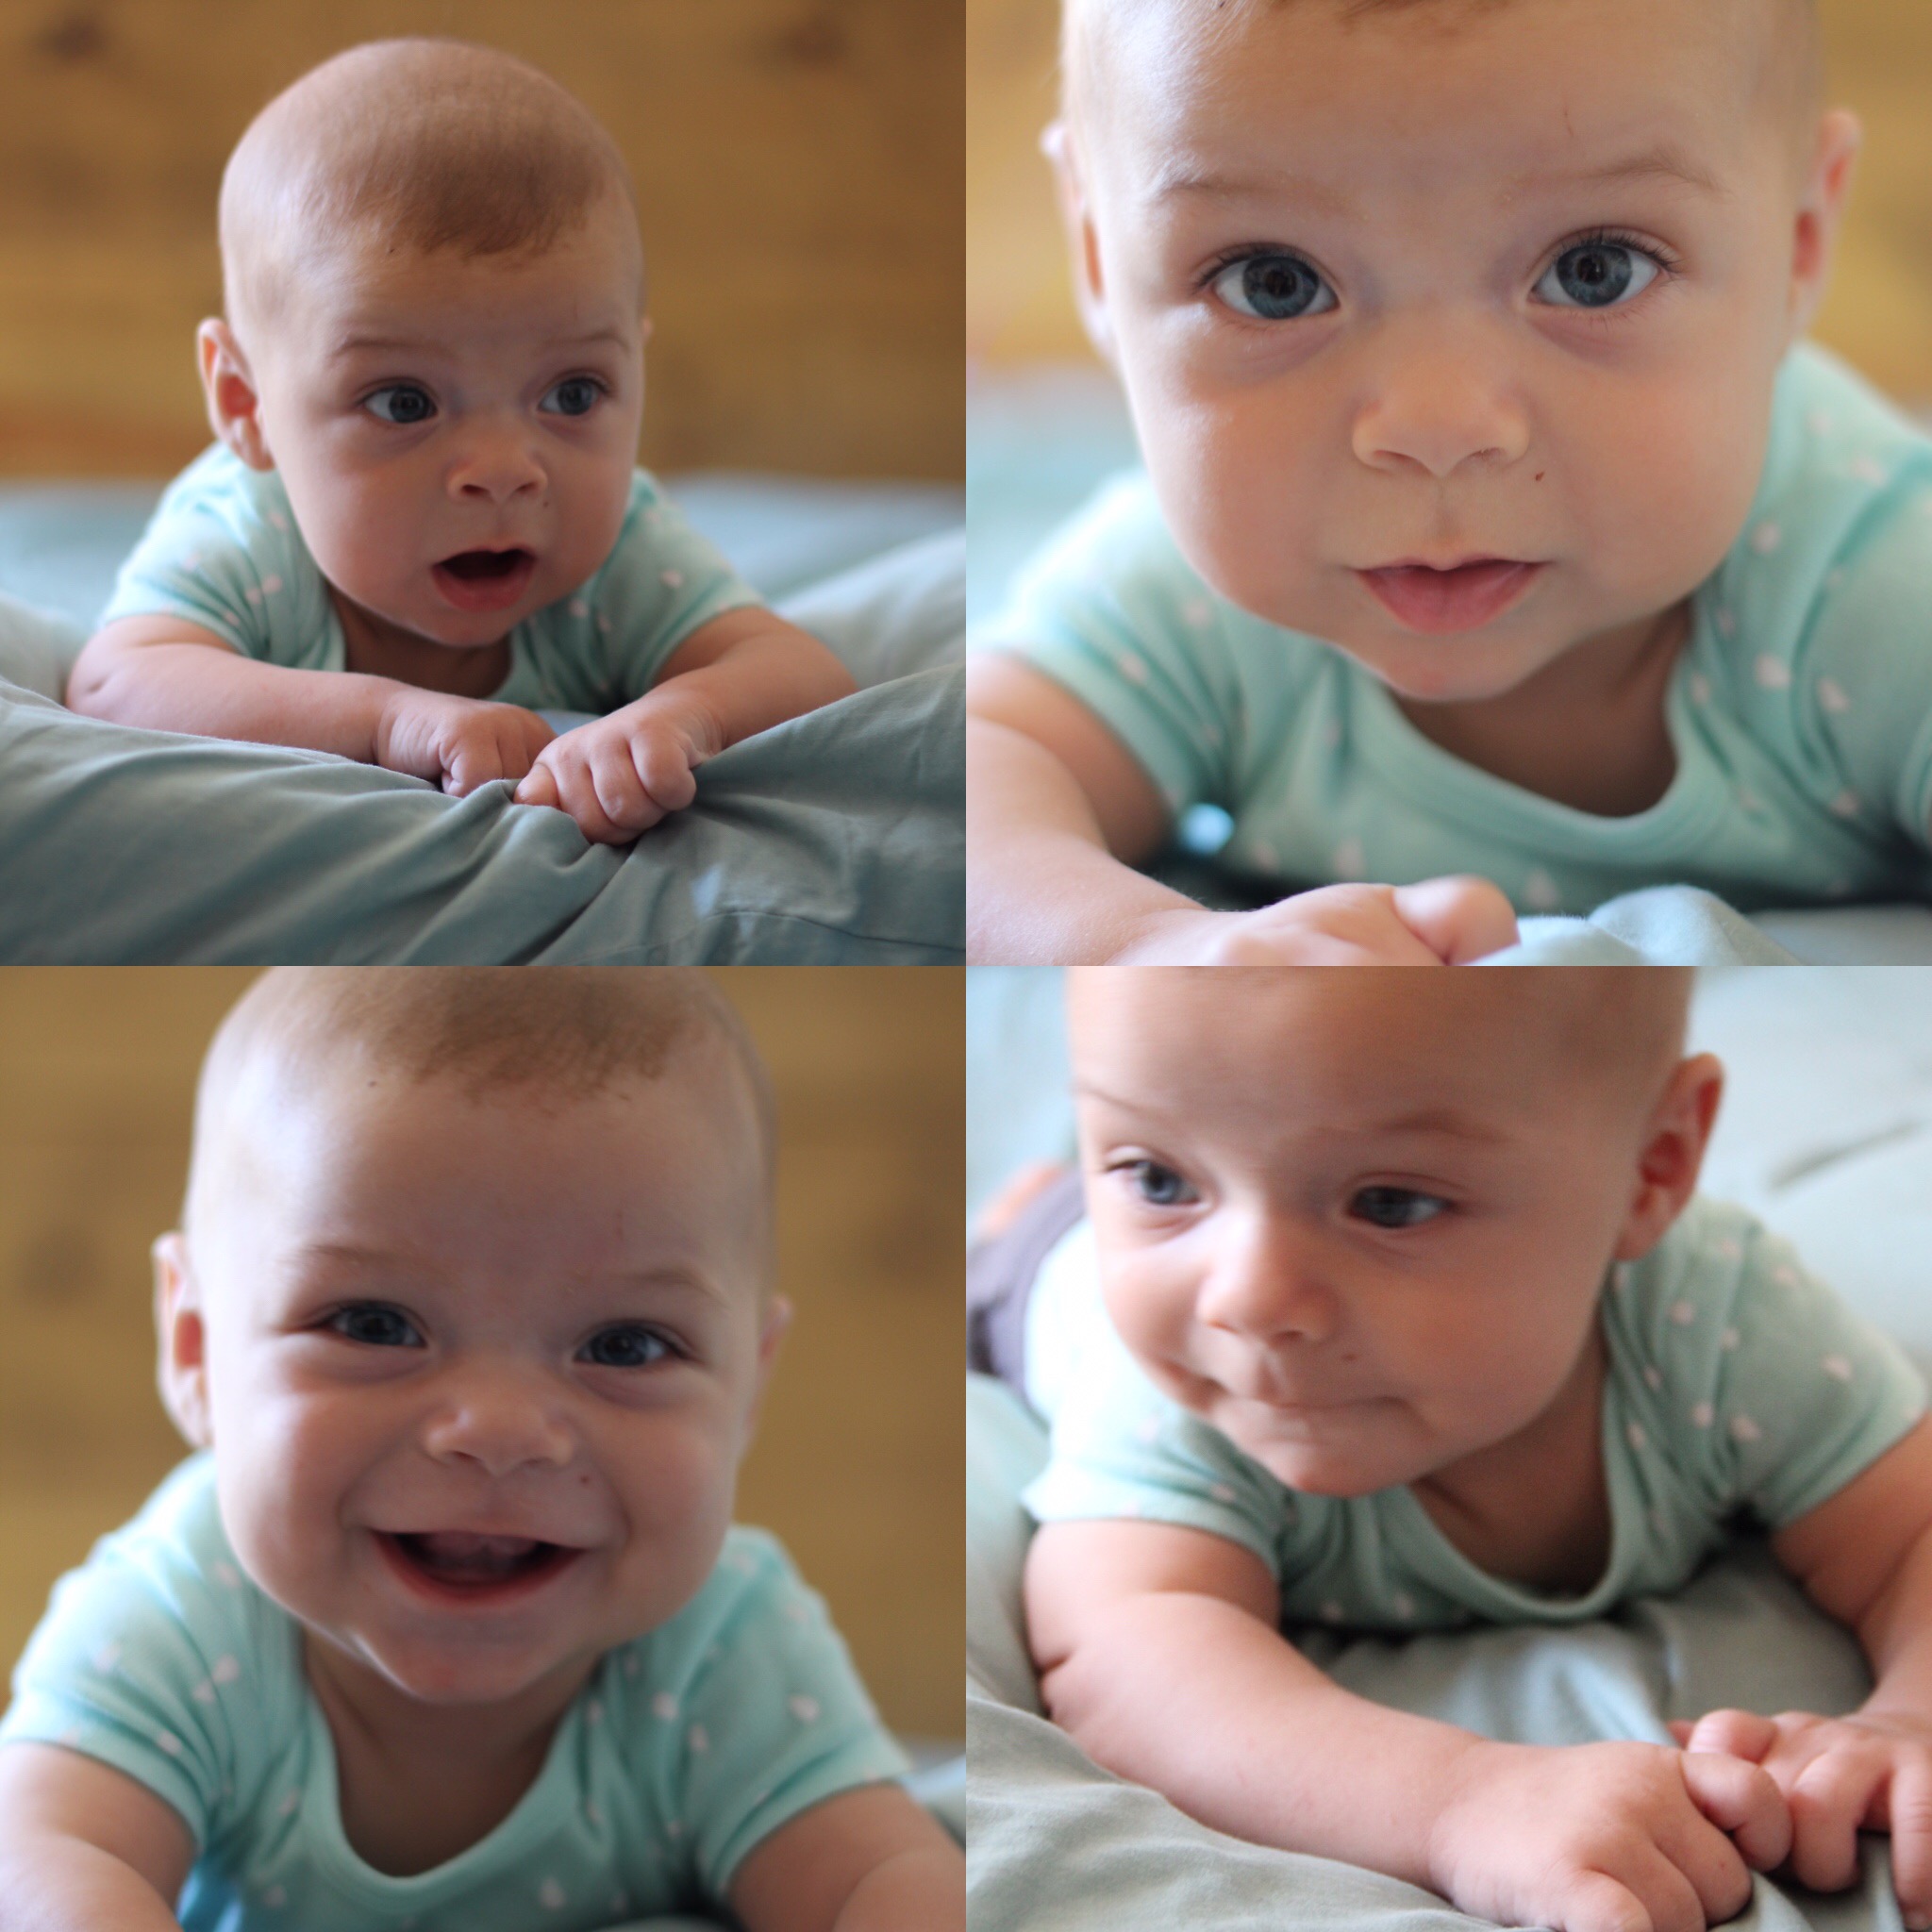
Wonder where I've been? I've been with this thing. Oh, and working. Trying to find a balance (if such a thing even exists) between the two. Scale is weighing heavily in the little one's favor. I am still taking custom orders though and will share some of those soon.
The second thing my husband said to me after I told him I was pregnant—the first being, "Yeah I knew it."—was that he wanted to make the crib.
"Ok," I said, as long as it was up to safety standards. He scoured the internet for blue prints and designs, eventually finding a Land of Nod inspired design (their cribs go for $600-$1200!) at Design Confidential, which has a big collection of (awesome) DIY plans.
Choosing the Wood
We had hoped to buy nice hardwood, but pricing everything out, and even researching acquiring reclaimed wood, it was looking like we were going to have to use plain old Home Depot pine. But Christmas came with a gift from Grandpa, and we knew right away it would be put to a good cause making our heirloom crib.
Not the actual cherry tree. :)
We finally got some rain in California, so wood storage was strictly indoors.
We chose to use North American Black Cherry (Prunus serotina) because it is a hard, furniture-grade wood that finishes beautifully. Also it's a common, sustainably forested species grown in North America—not imported, or endangered, or sketchily harvested.
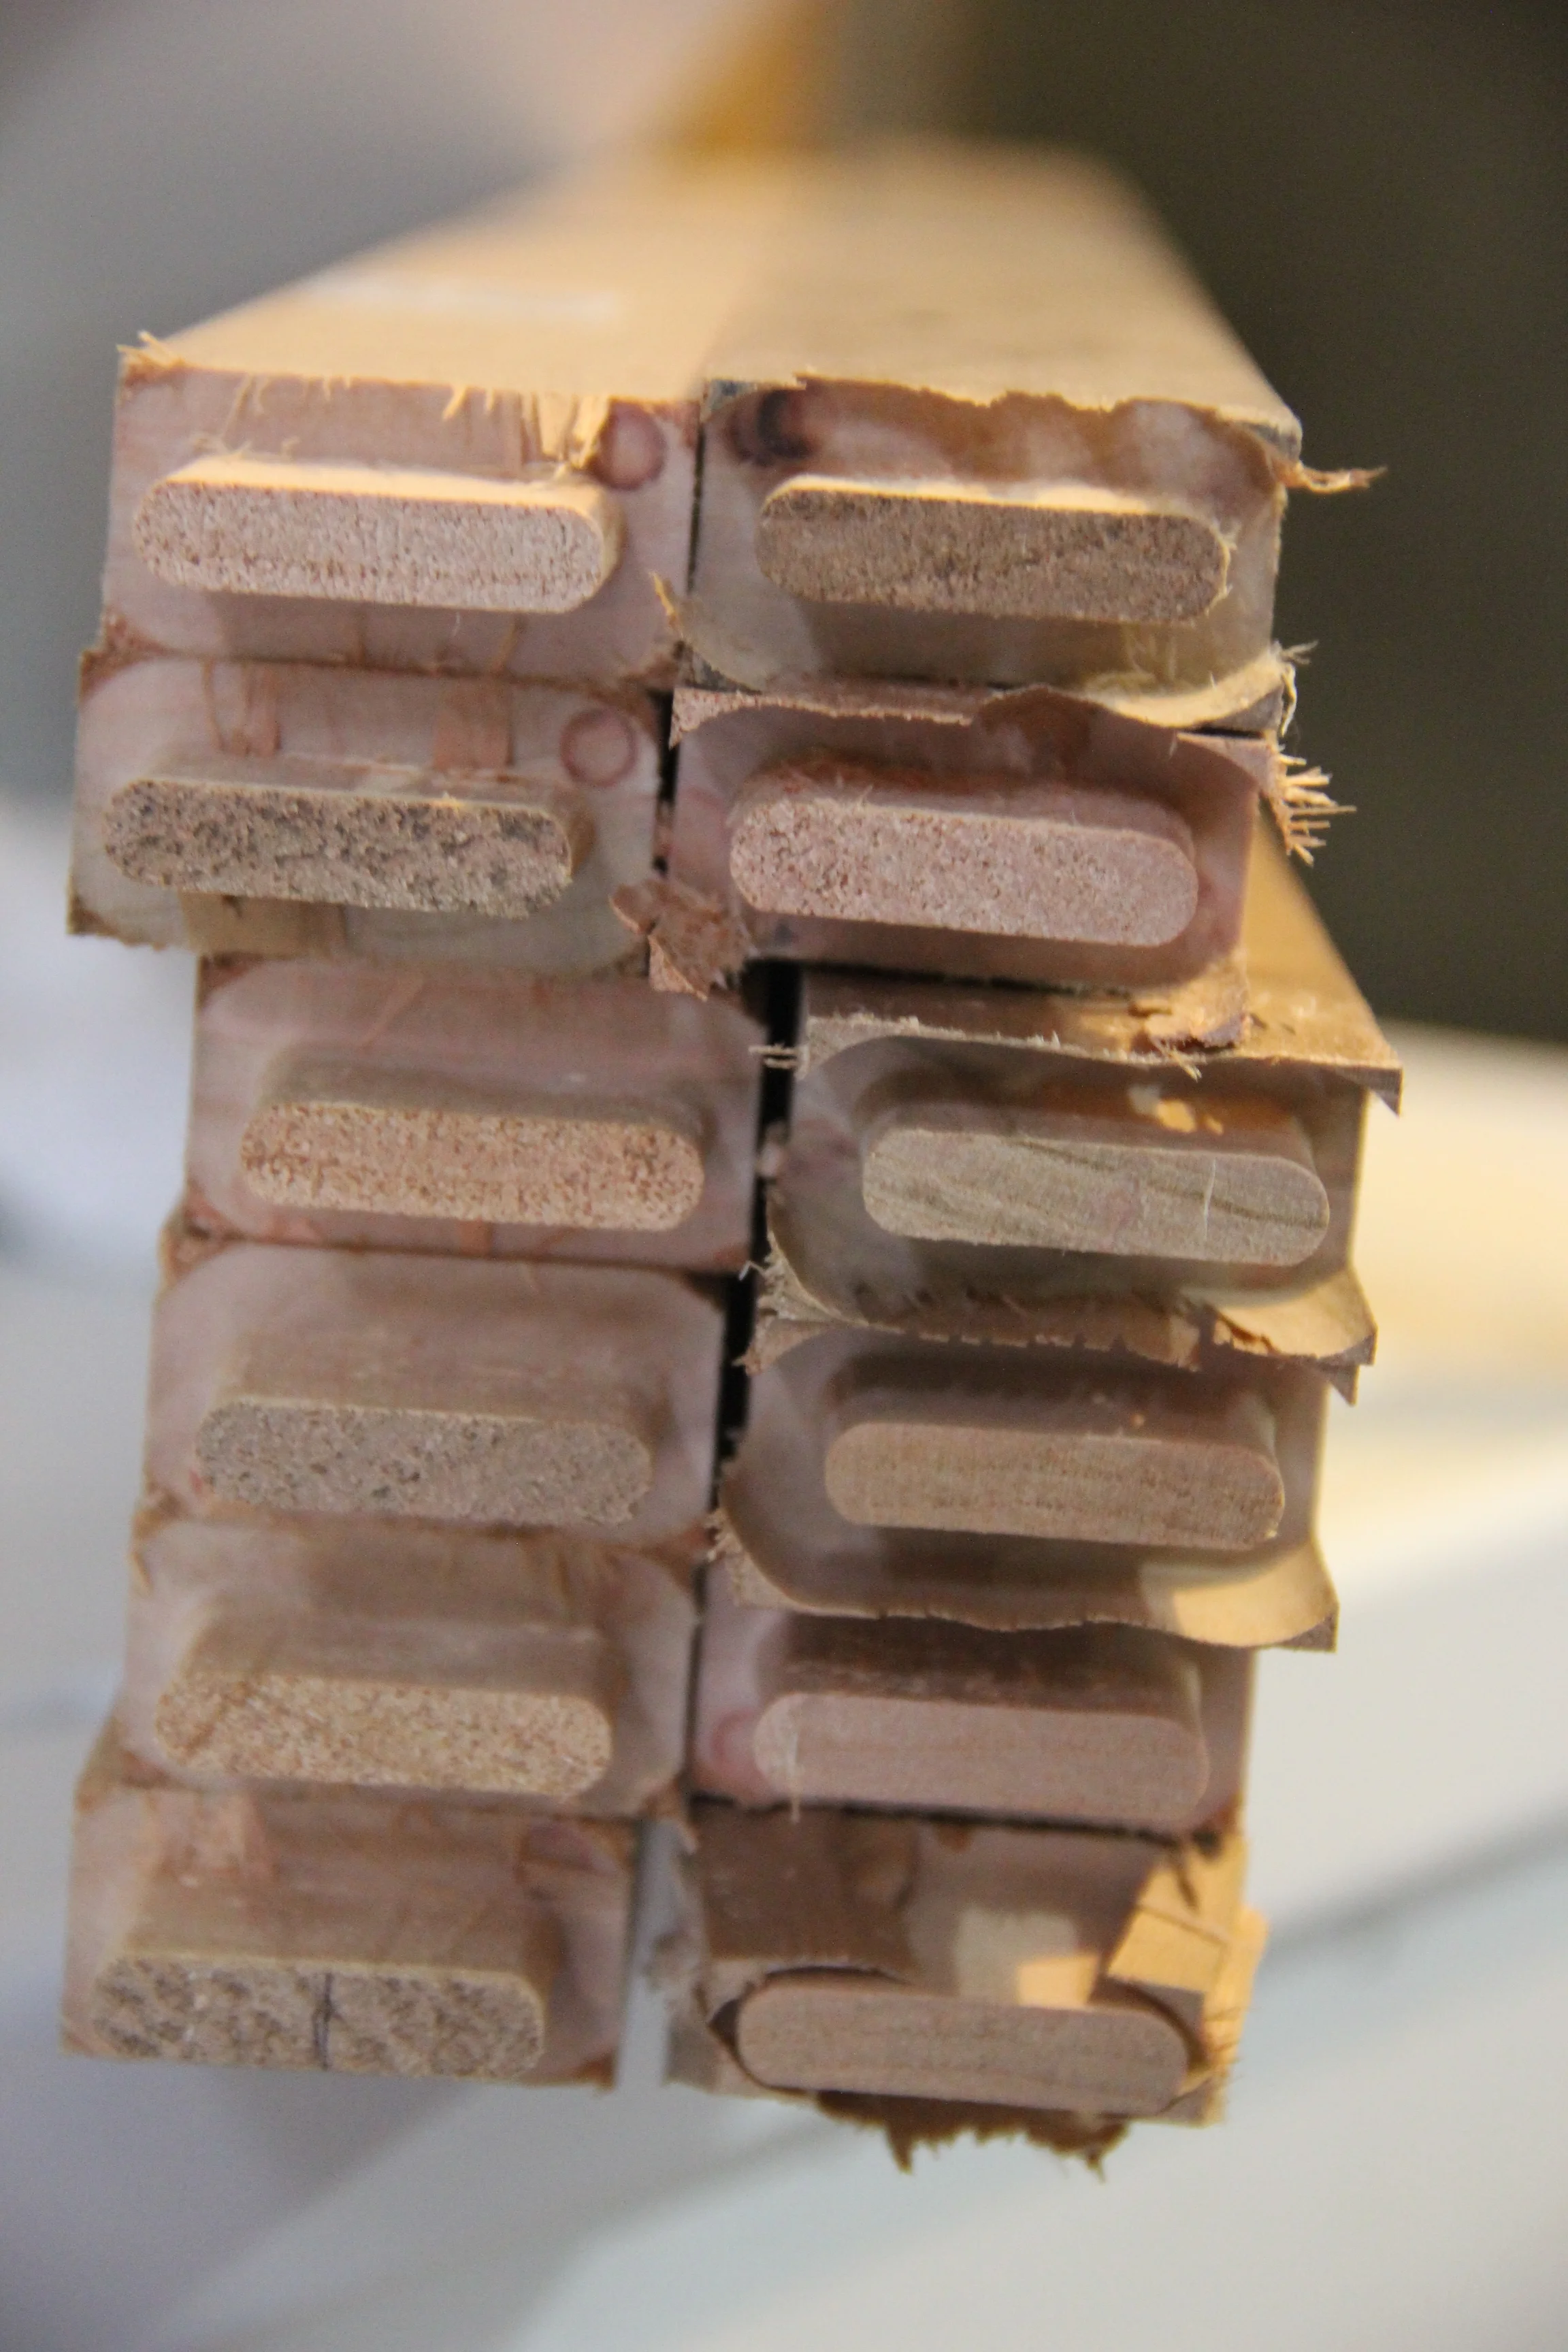
Routing mortises and tenons with the General Mortise & Tenon Jig.
A stack of boards with tenons.
Steve made some significant changes to the blueprints, mainly in changing all of the pocket-holes to mortise and tenon joints (fancy). This took some good mathing to figure out exactly how long the pieces need to be cut to allow room for the tenons.
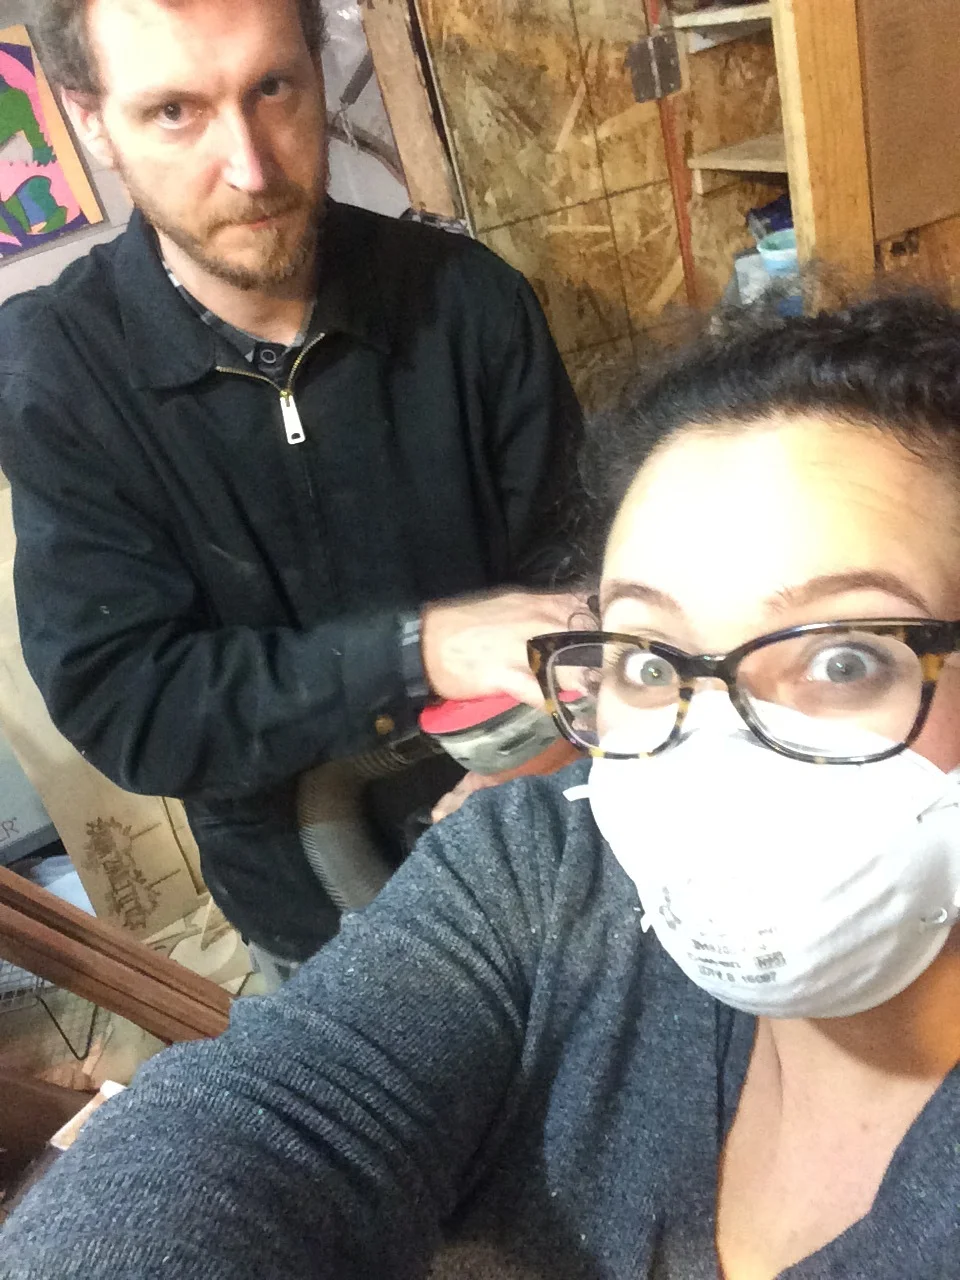
Gluing and Clamping and Sanding, and More Sanding
After all the boards were cut and the mortises and tenons routed out, I did an initial sanding. Then we did some dry fits to make sure that all the joints fit.
We set a drop cloth down in the living room to glue up all of the tines using TiteBond I. I followed behind Steve with a damp cloth to wipe up any drippage.
More intensive sanding to make sure no glue remains and that every corner is smooth. You know, for baby.
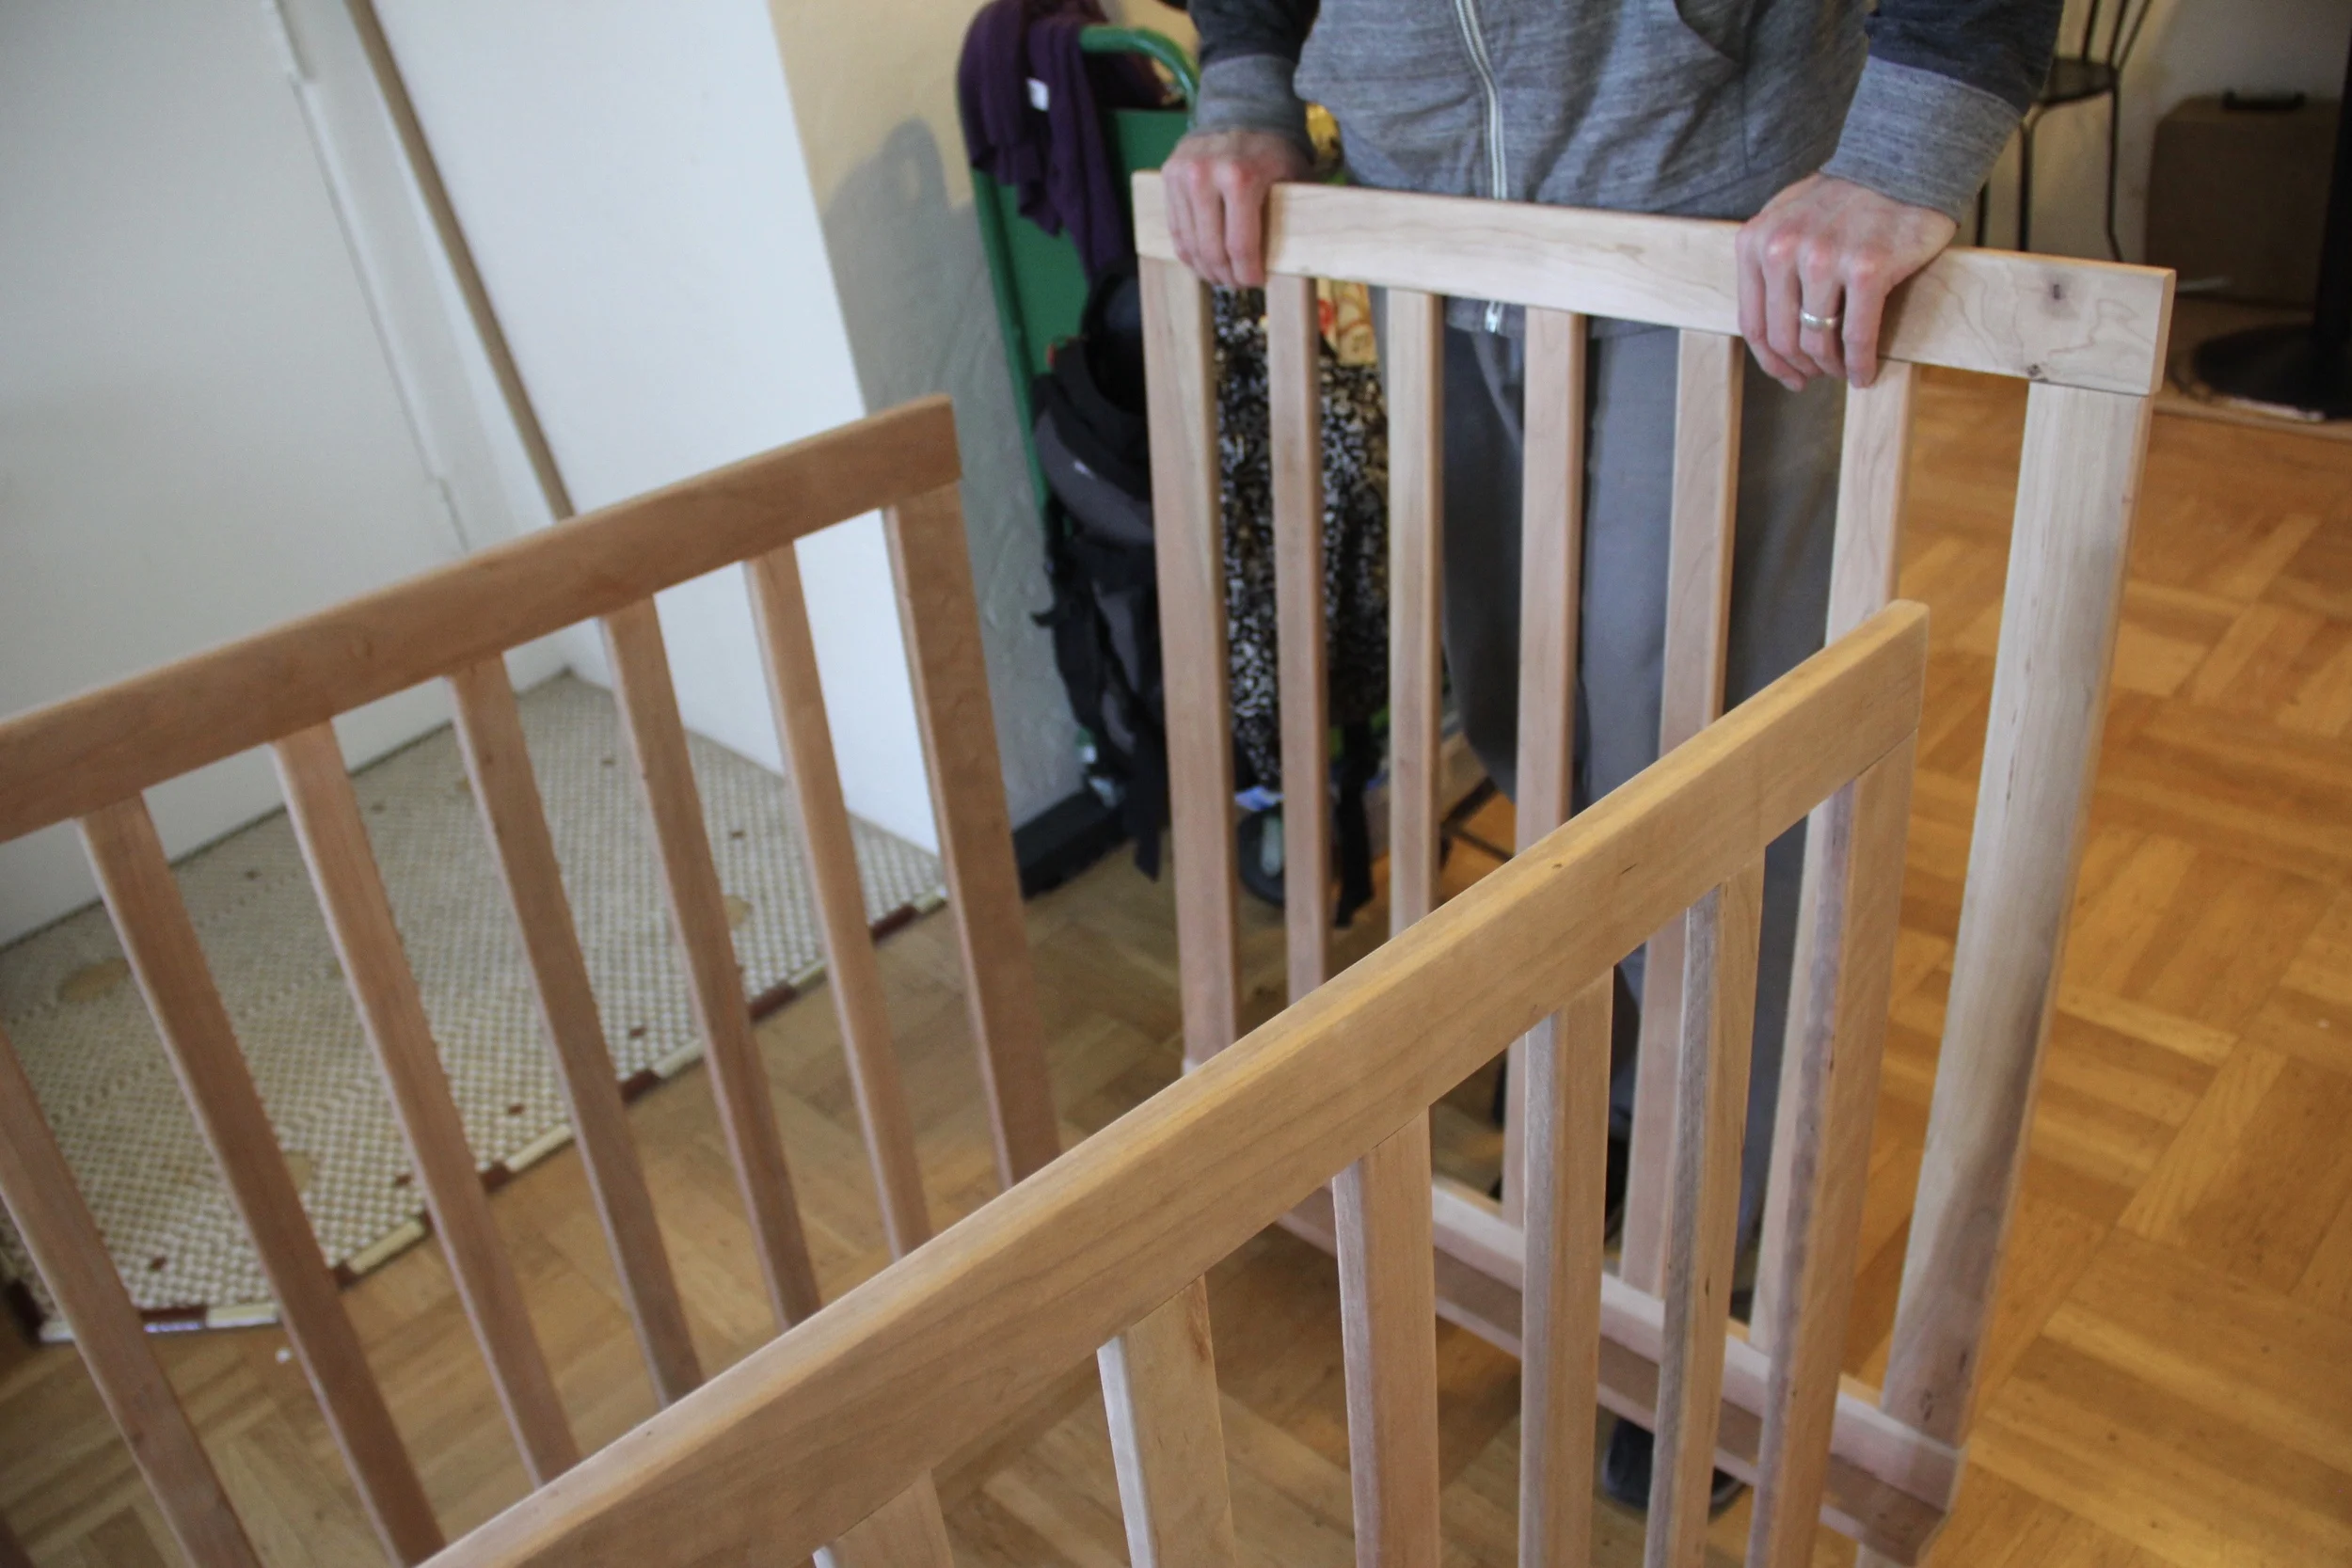
Oiled Up and Ready to Assemble
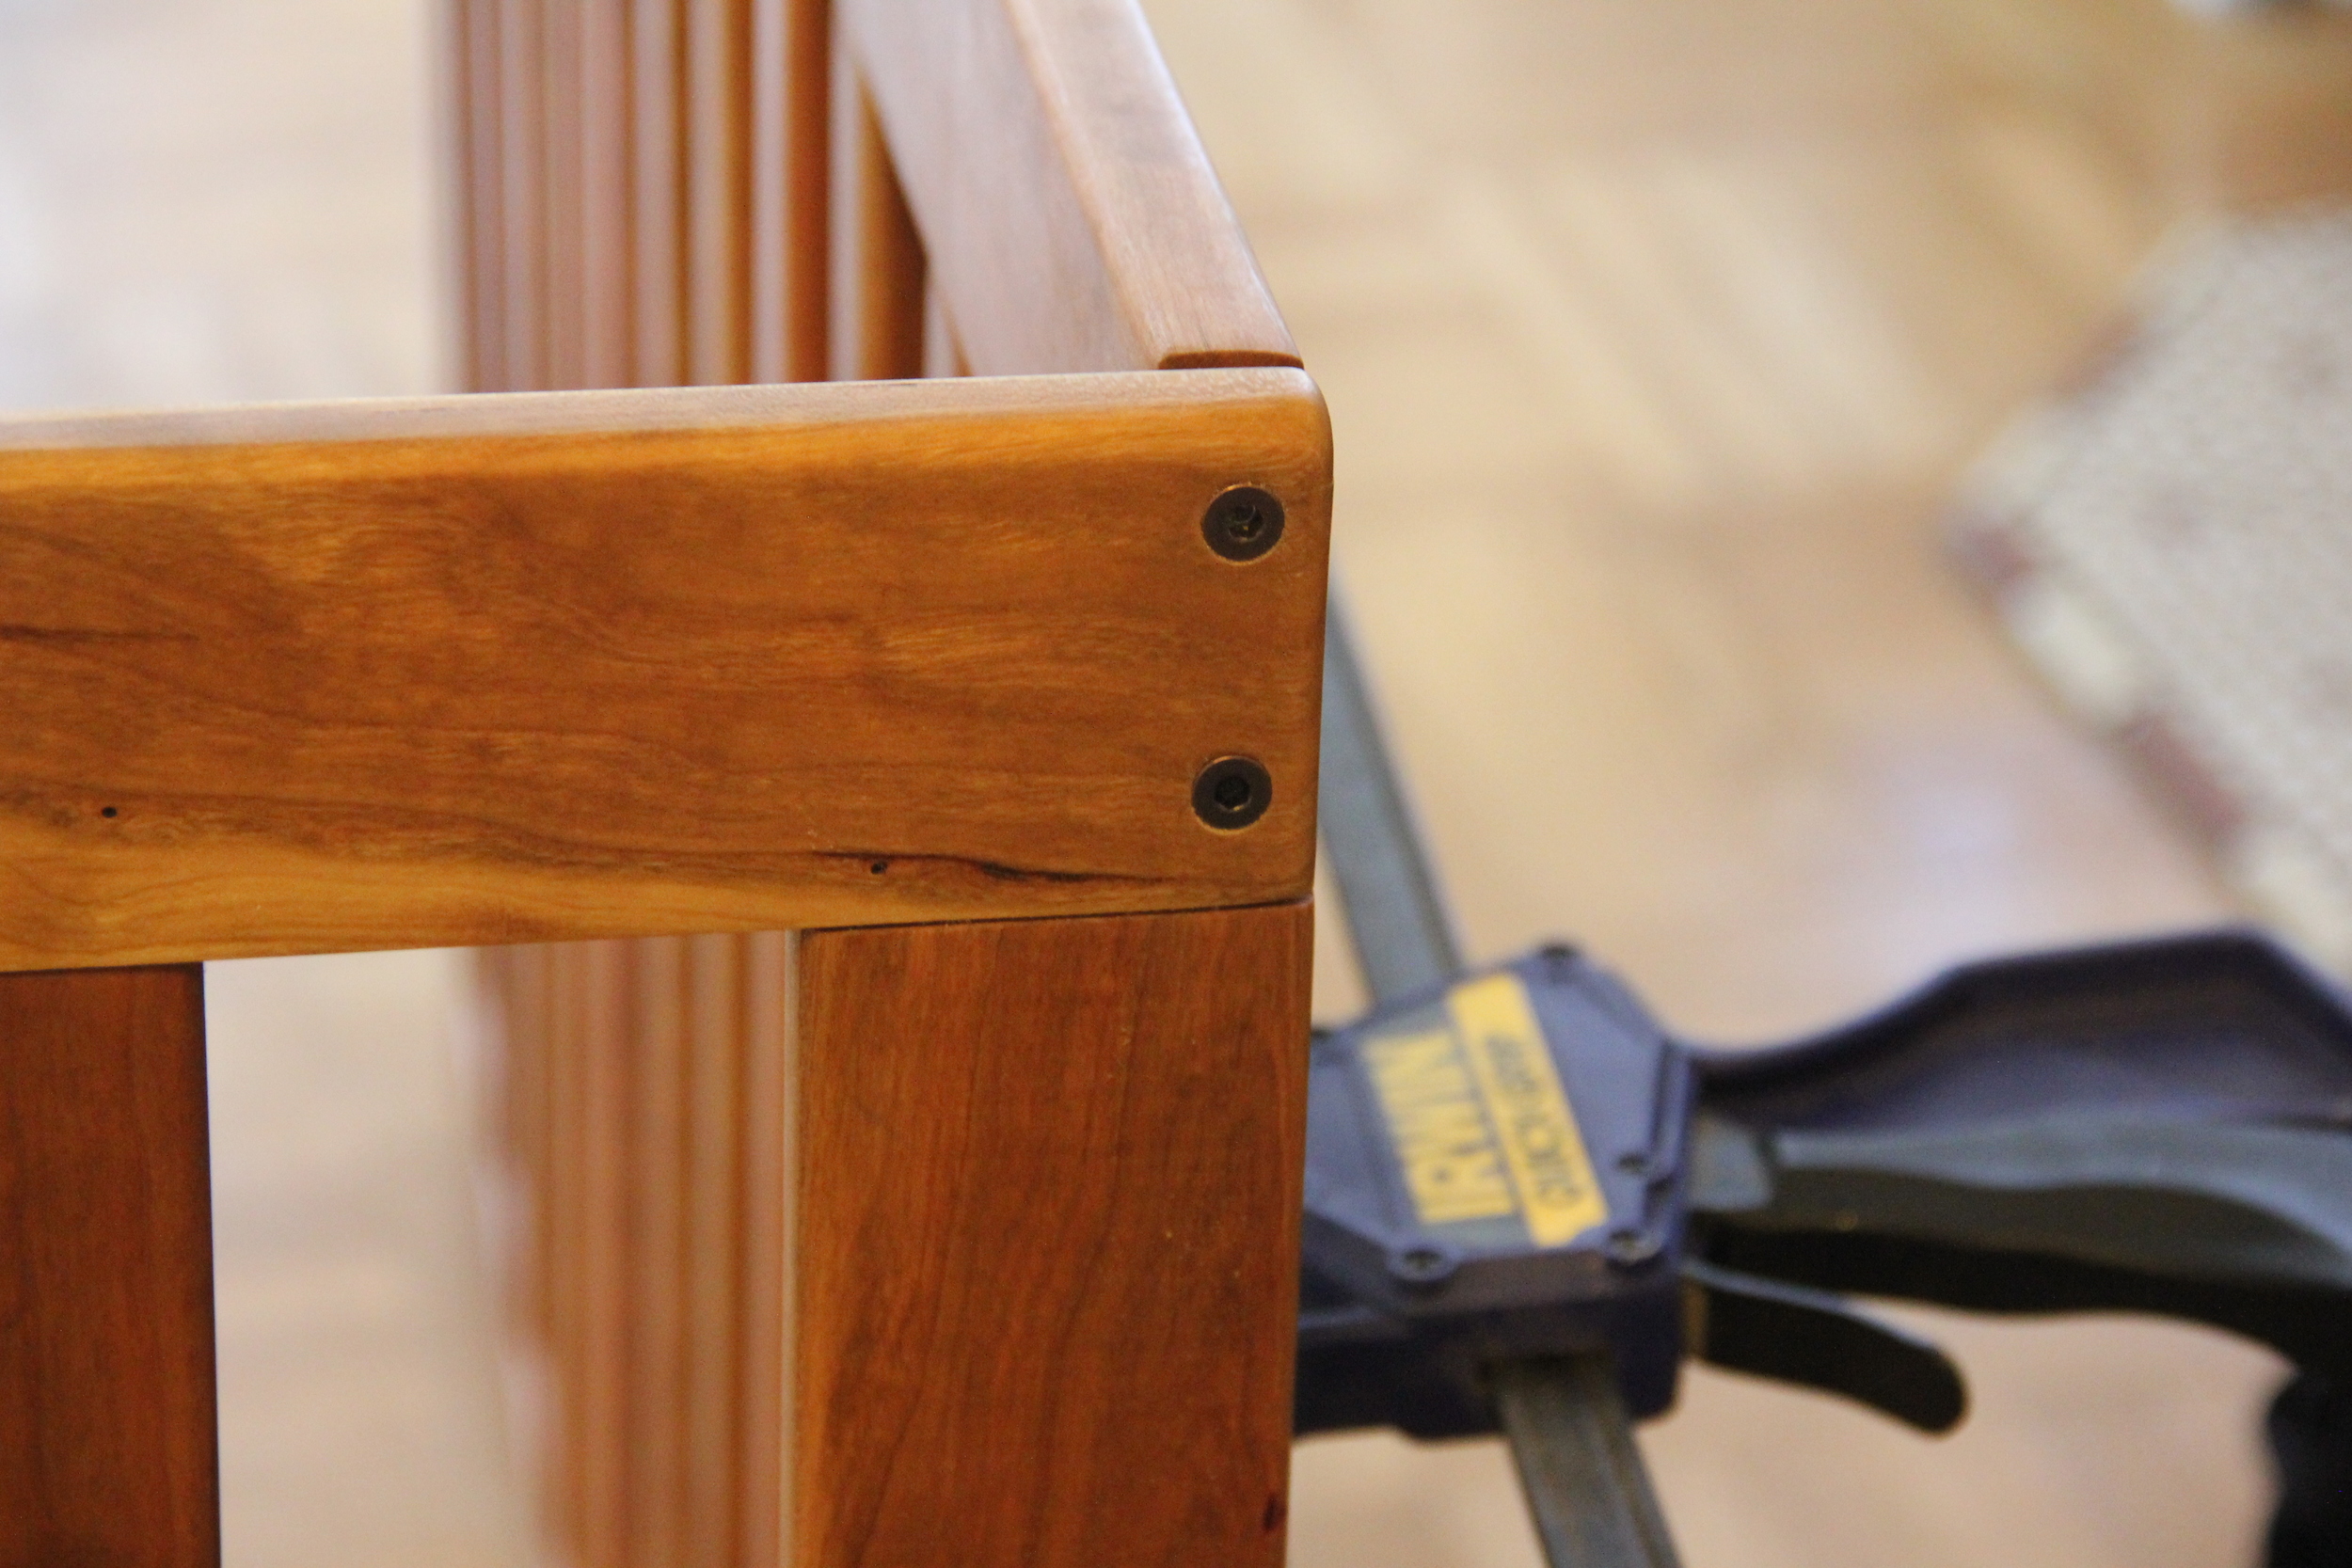
I wish I had taken a side-by-side shot of the natural cherry and oiled cherry, because the transformation is magical. We applied about three heavy coats of boiled linseed oil, reapplying until the wood didn't look "thirsty" any more.
We used some oiled-bronzed finished screws to avoid the usual stainless steel look.
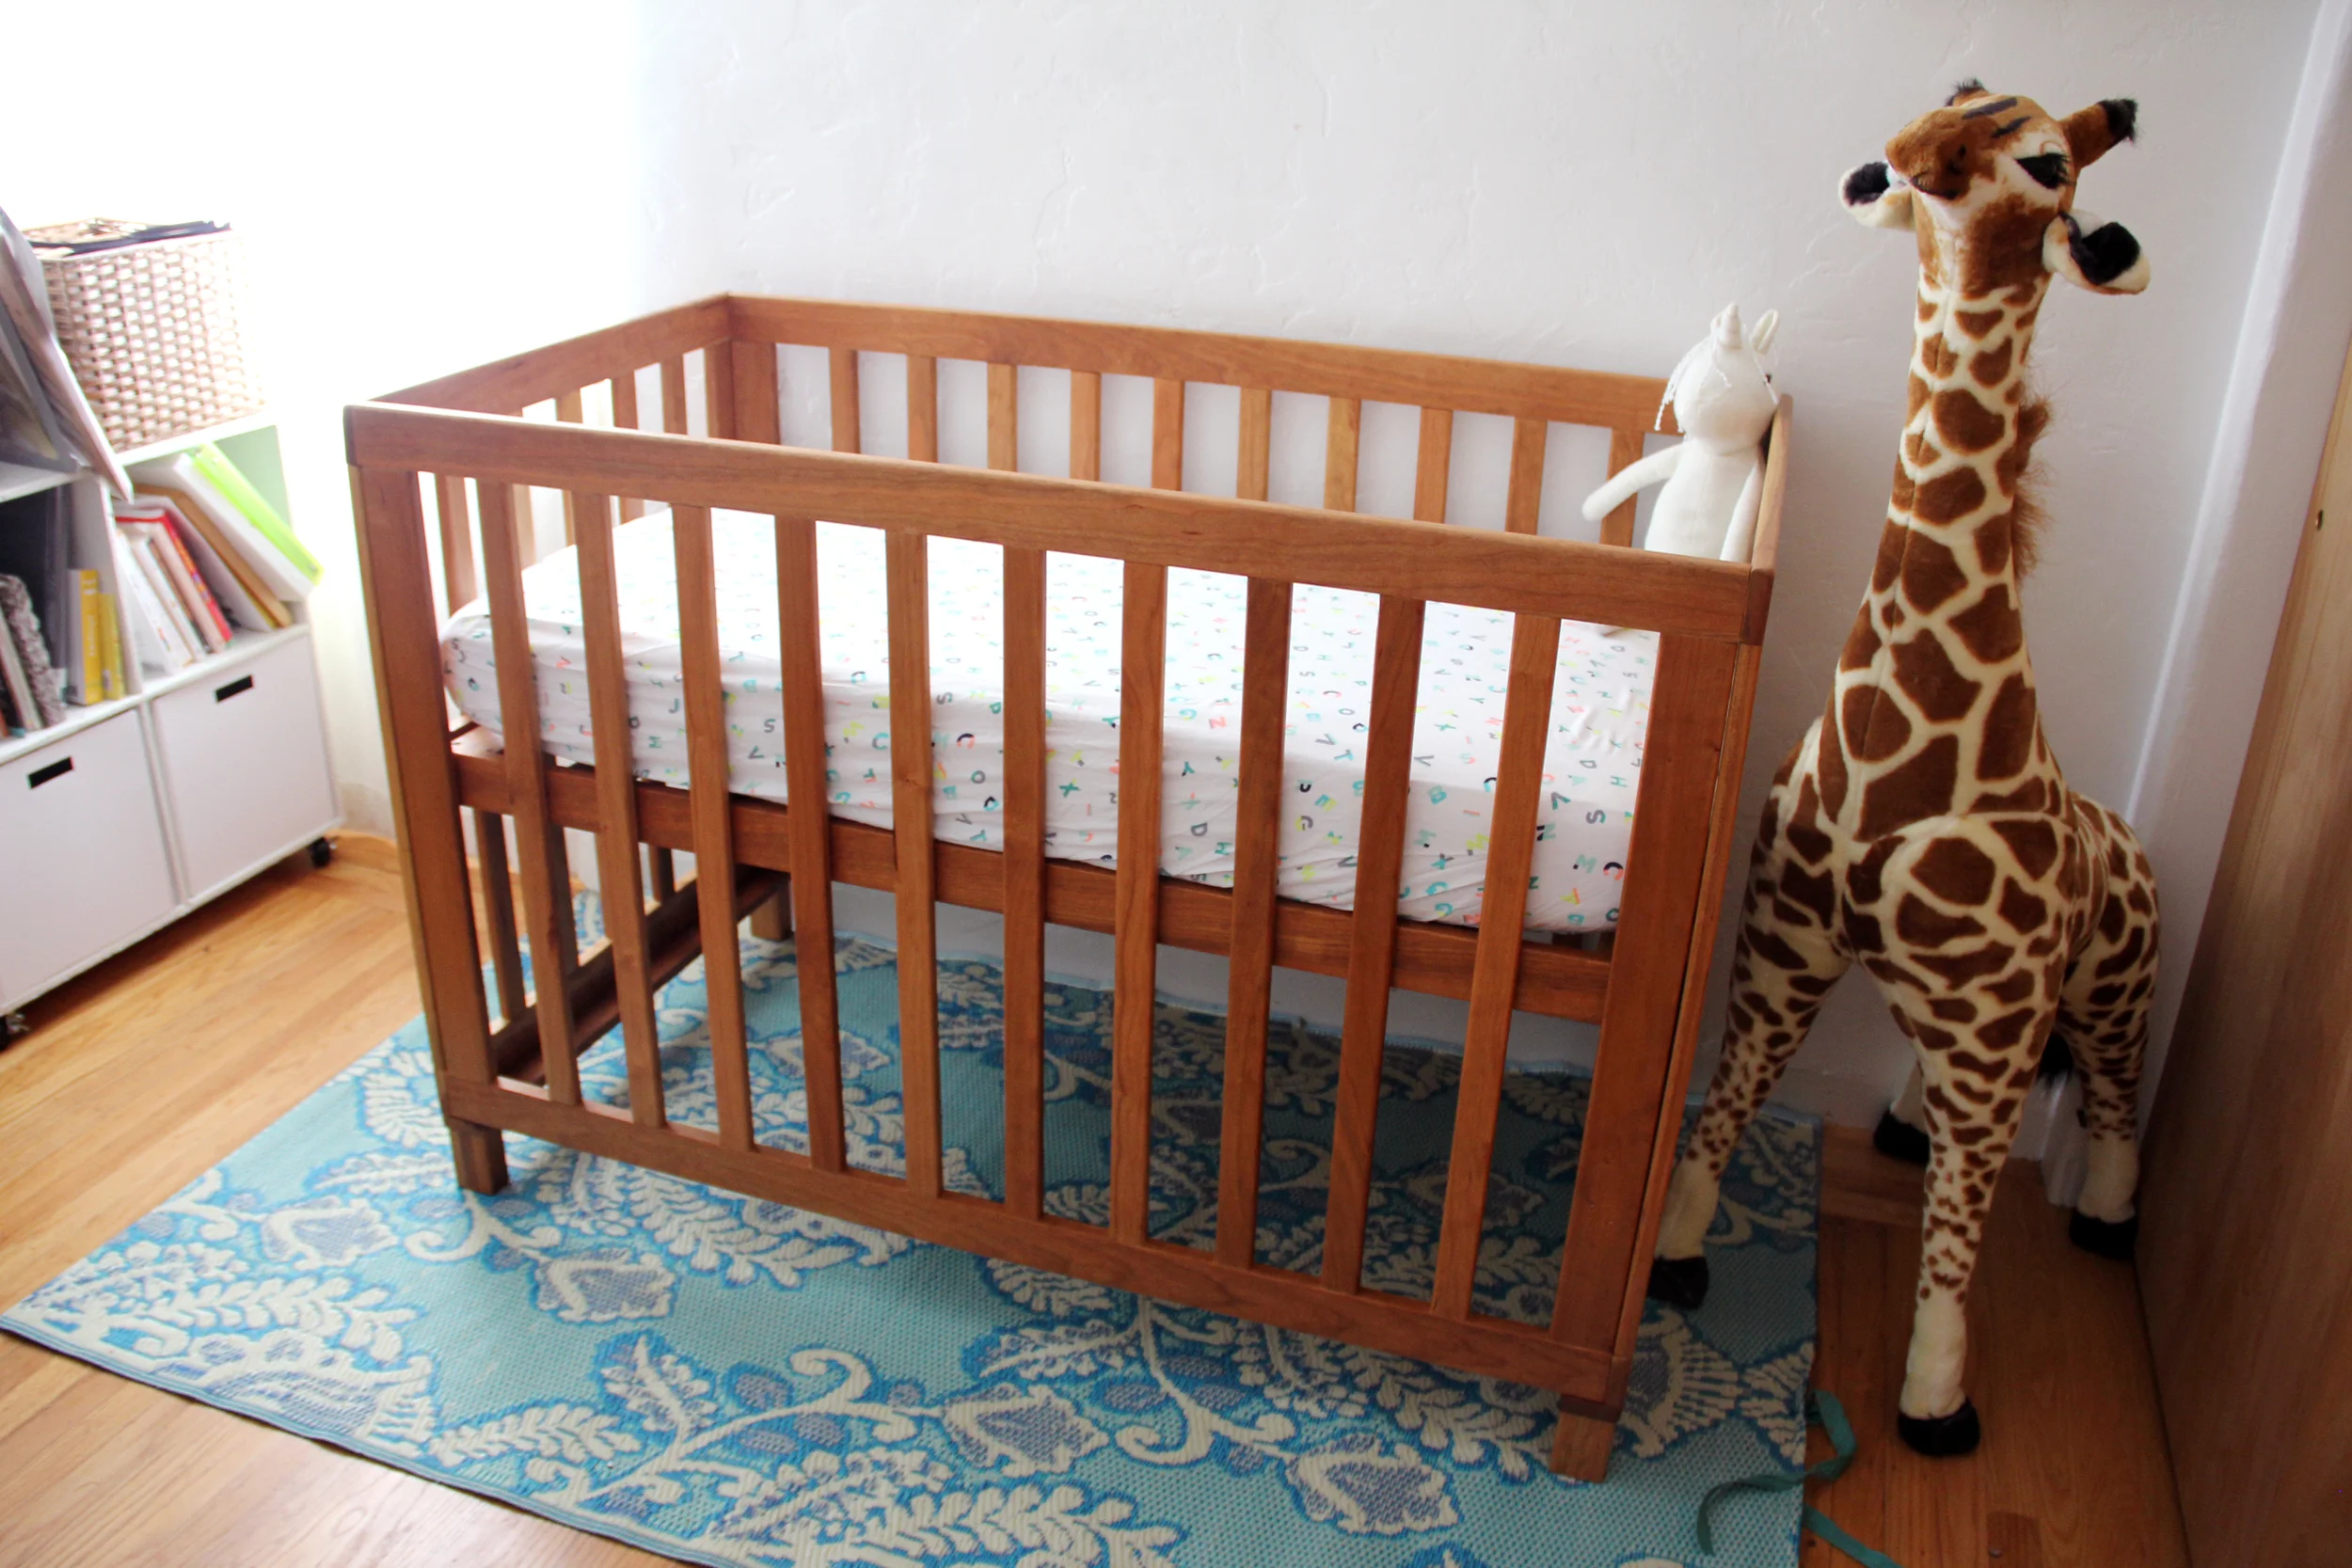
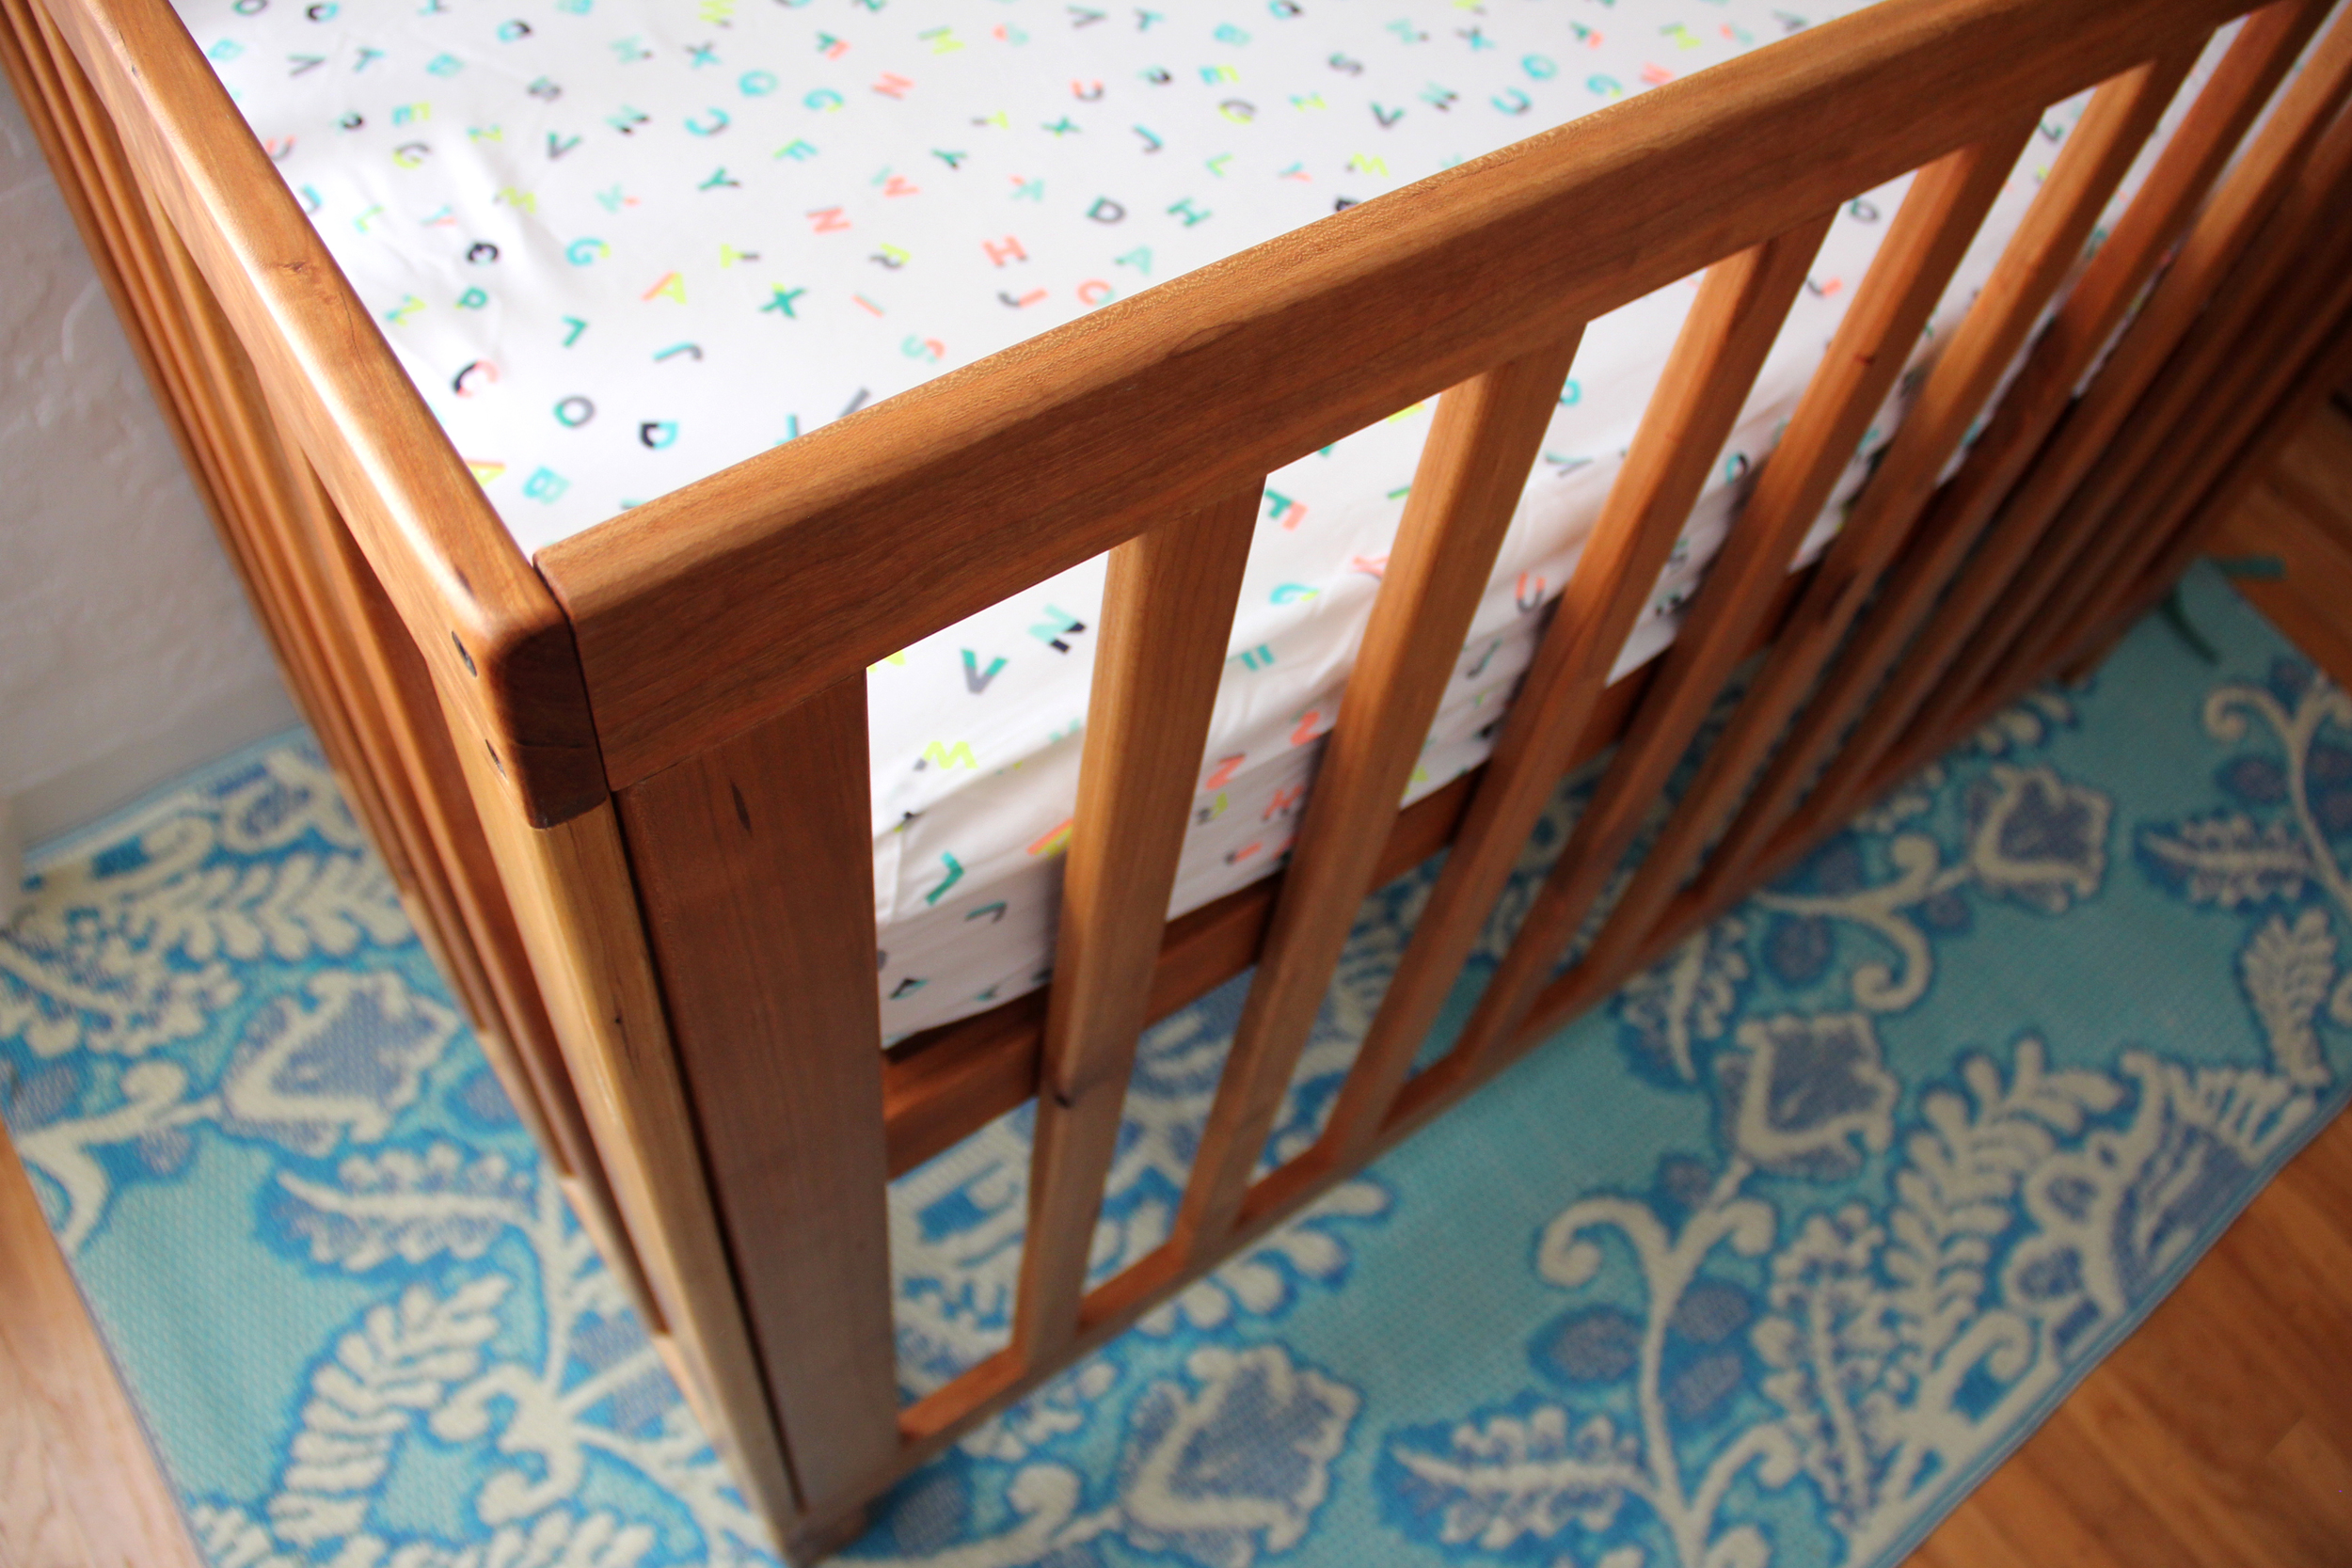
Aaaaaaaaand DONE!
We didn't originally think we would put together an entire room (nursery) for baby because we plan on having them in a co-sleeper with us for months. However, plans change, and Steve moved his computer out of the back room and into our never-used "dining room." Now the back room is a nursery and office for me, anticipating my upcoming work-from-home time.
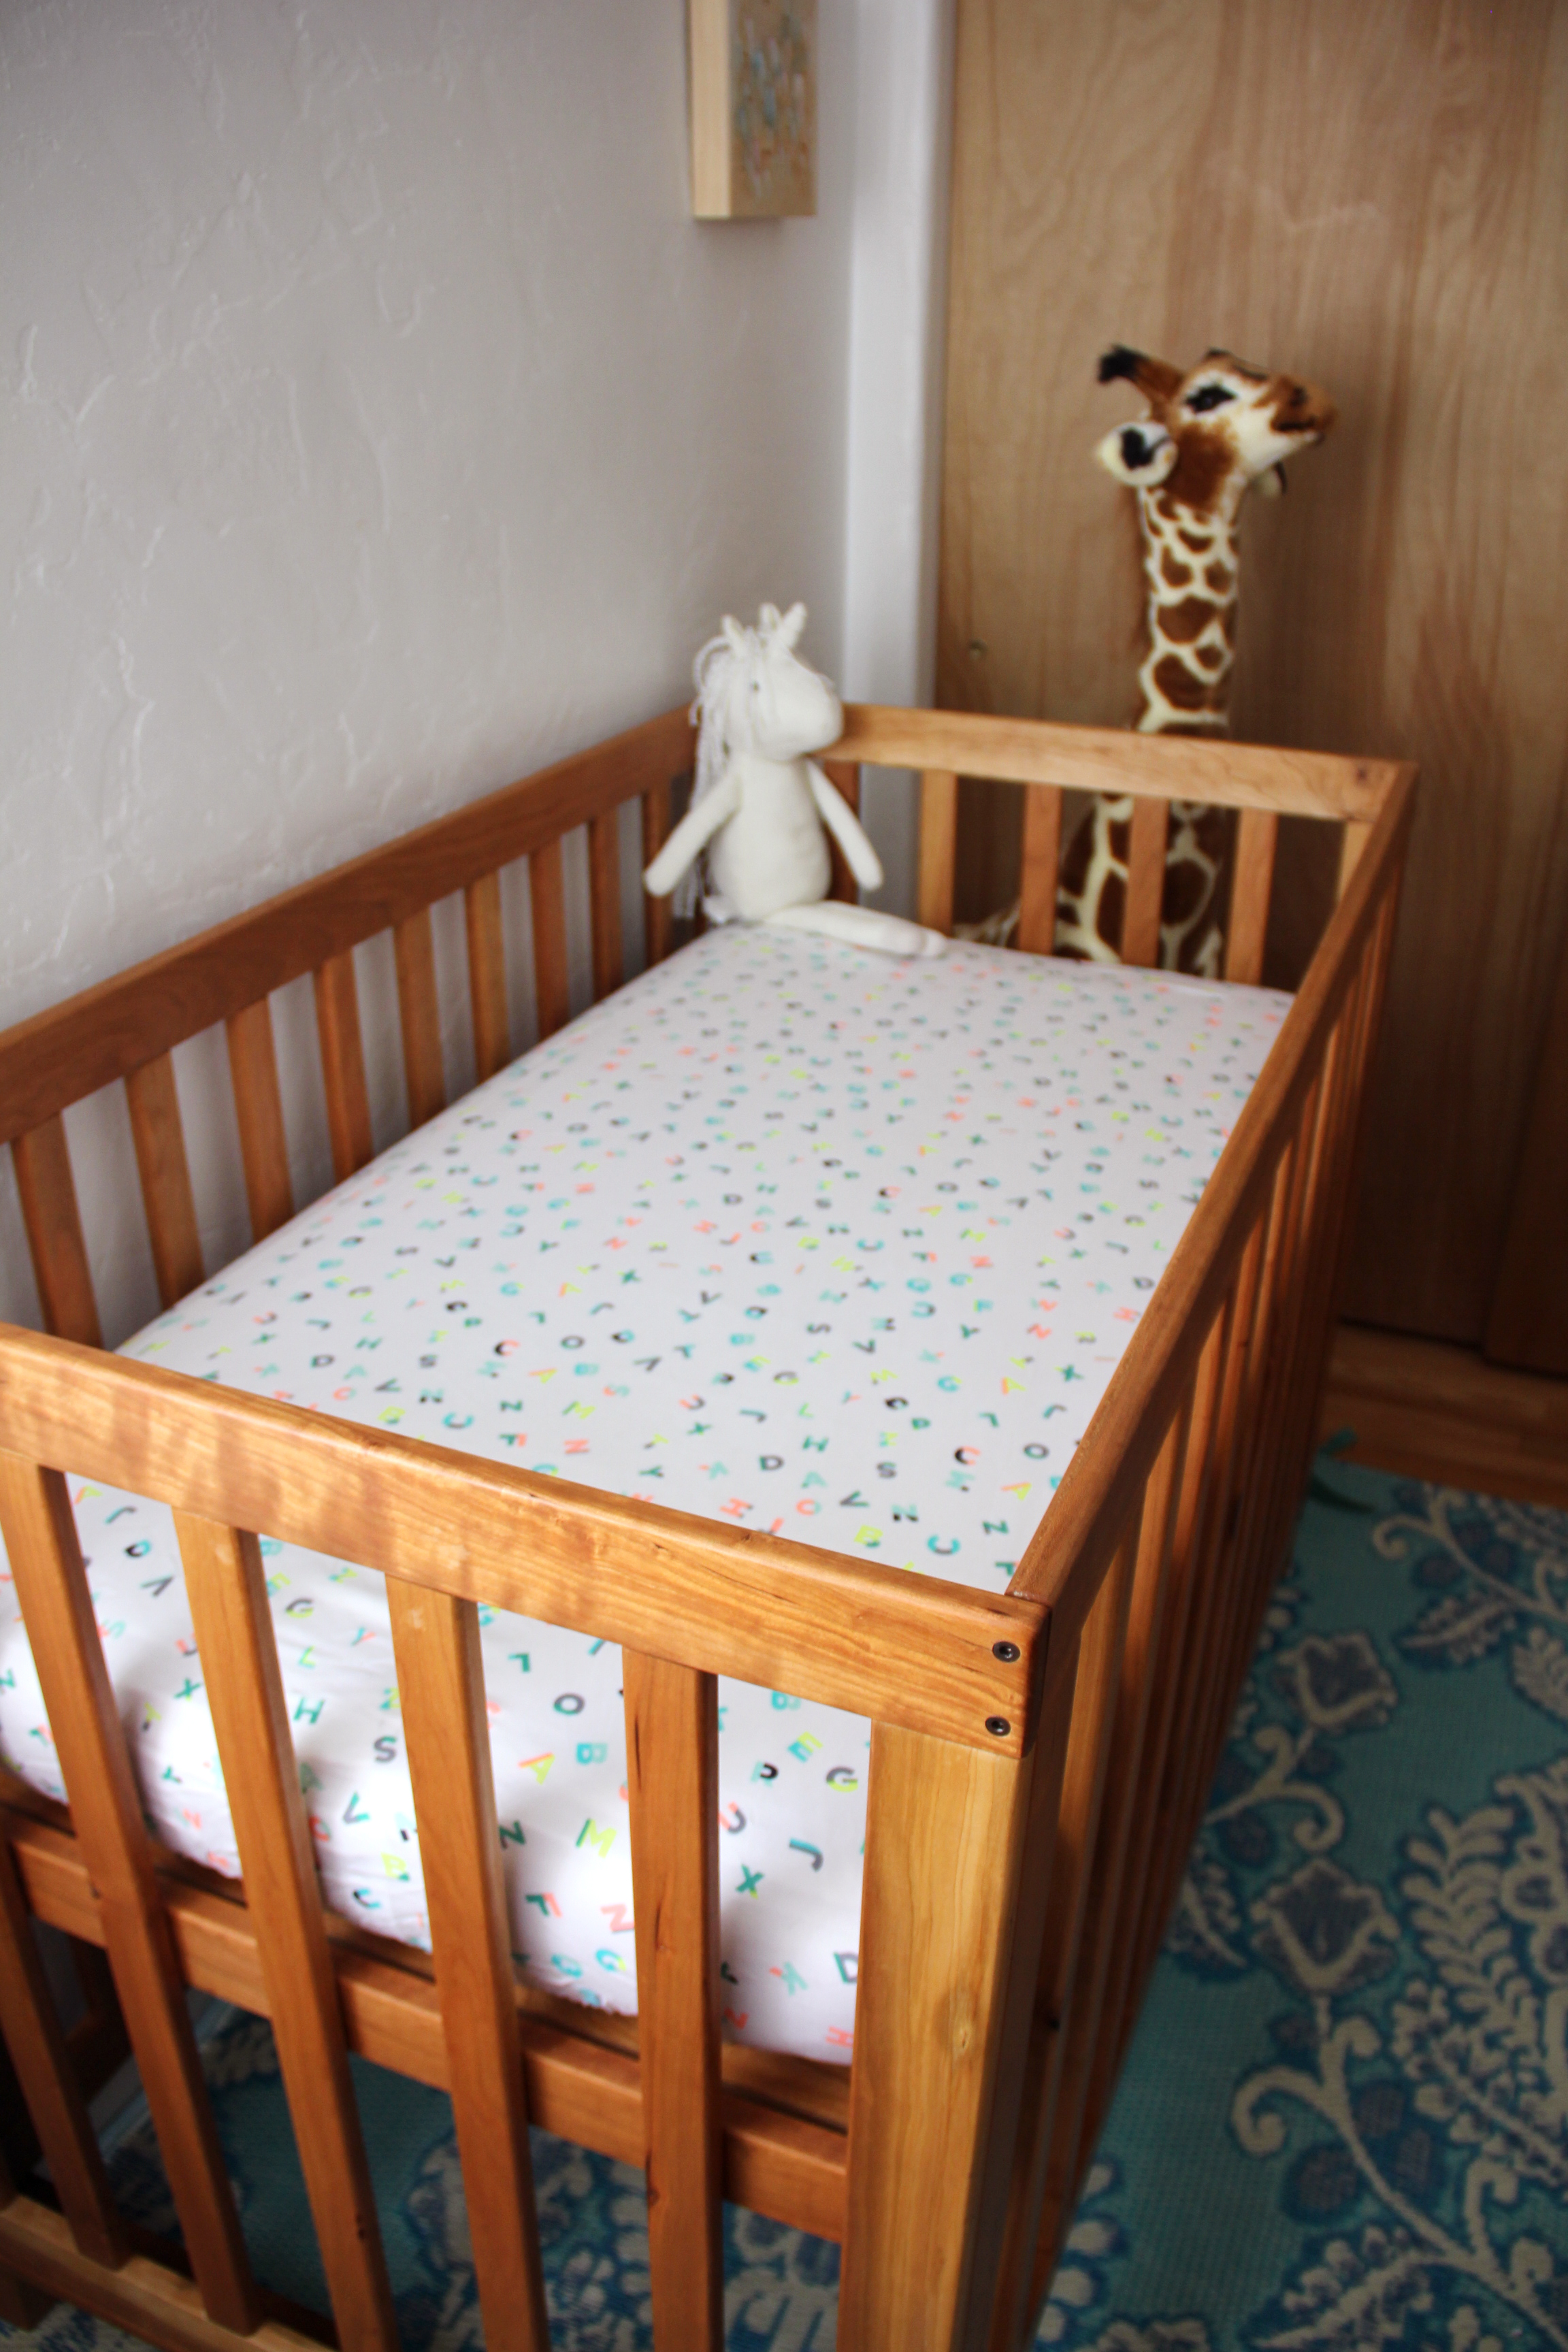
The mattress I had originally picked up (for free on Craigslist) turned out to be on the smaller side. Not safe. We ended up going to a bunch of stores—tape measure in hand—to find the largest crib mattress possible. They all say they are the same dimensions, but we found this Sealy "CoolSense" to fit our crib snuggly and safely. Bonus: the mattress says "cool baby" all over it, as if we needed to advertise. The breathable bumper hand-me-down my sister gave us didn't make the photo shoot, but will be added to the crib shortly.
For those who are curious we ended up spending about $400-ish including the wood, the mortise and tenon jig, and hardware. But hey, it's an heirloom right? Plus we'll convert it into a toddler bed as soon as we need to, so we'll get lots of use out of it.
I spent the first whole month of the year sorting, purging, organizing and cleaning my entire house. After going through all my stuff I have learned that getting rid of craft supplies is the absolute hardest thing to do. I have hoarded paper goods with the expectation of turning them into some cool "future project." But purge I did... except for a couple of vintage items—these vintage bird identification cards included. I knew I had to think up a project with them right away.
Seeing as I had an empty frame laying around, I decided on an easy and fast tiled wall art project. This can totally be done with any quirky flash cards you may find at a garage sale or antique shop. There are also a bunch on Etsy here.
First I tiled the flash cards with varying colors and orientations to add to the abstraction and interest. Mine just happened to fit perfectly, but you may need to trim yours to fit. I then glued them with Mod Podge (or any paper-friendly glue) onto mat board. Well, actually I glued mine right onto the cardboard that came with the frame, but this is not ideal because its not archival. If you want your art to last, use a non-acidic mat board. Do as I say, not as I do!
I then slipped the board into the frame and voila, instant art! And one less thing I need to organize and put away.
My laser cutter arrived about 6 months before our wedding. Perfect timing. I had a new machine that I needed to adjust to (settings across laser cutting machines differ and I had never worked with this brand or model before) and I also needed invitations, decorations and more for the upcoming nuptials. So I set out to laser cut everything in sight.
Invitations
I apologize for their wrinkly nature... they got a little munched in storage.
The inspiration for the wedding stationary and decorations came from a sunny afternoon session of sun printing. I took jasmine and honeysuckle vines from my backyard to expose on the indigo-colored SunPrint paper, which made a pattern. I used a scan of the sun print for our Save the Dates. I then traced the pattern in illustrator to create vector lines of the pattern to used in the laser cut invitation.
Table Decorations
We chose Feeling Good by Nina Simone as the song for our first dance, and it couldn't have captured our feelings more perfectly. For table decoration I laser cut signs with different bits of the lyrics for every table.
I also cut signage for our typewriter guestbook (it was a hit!) and our seed bomb wedding favors (see below for more on the wedding favors).
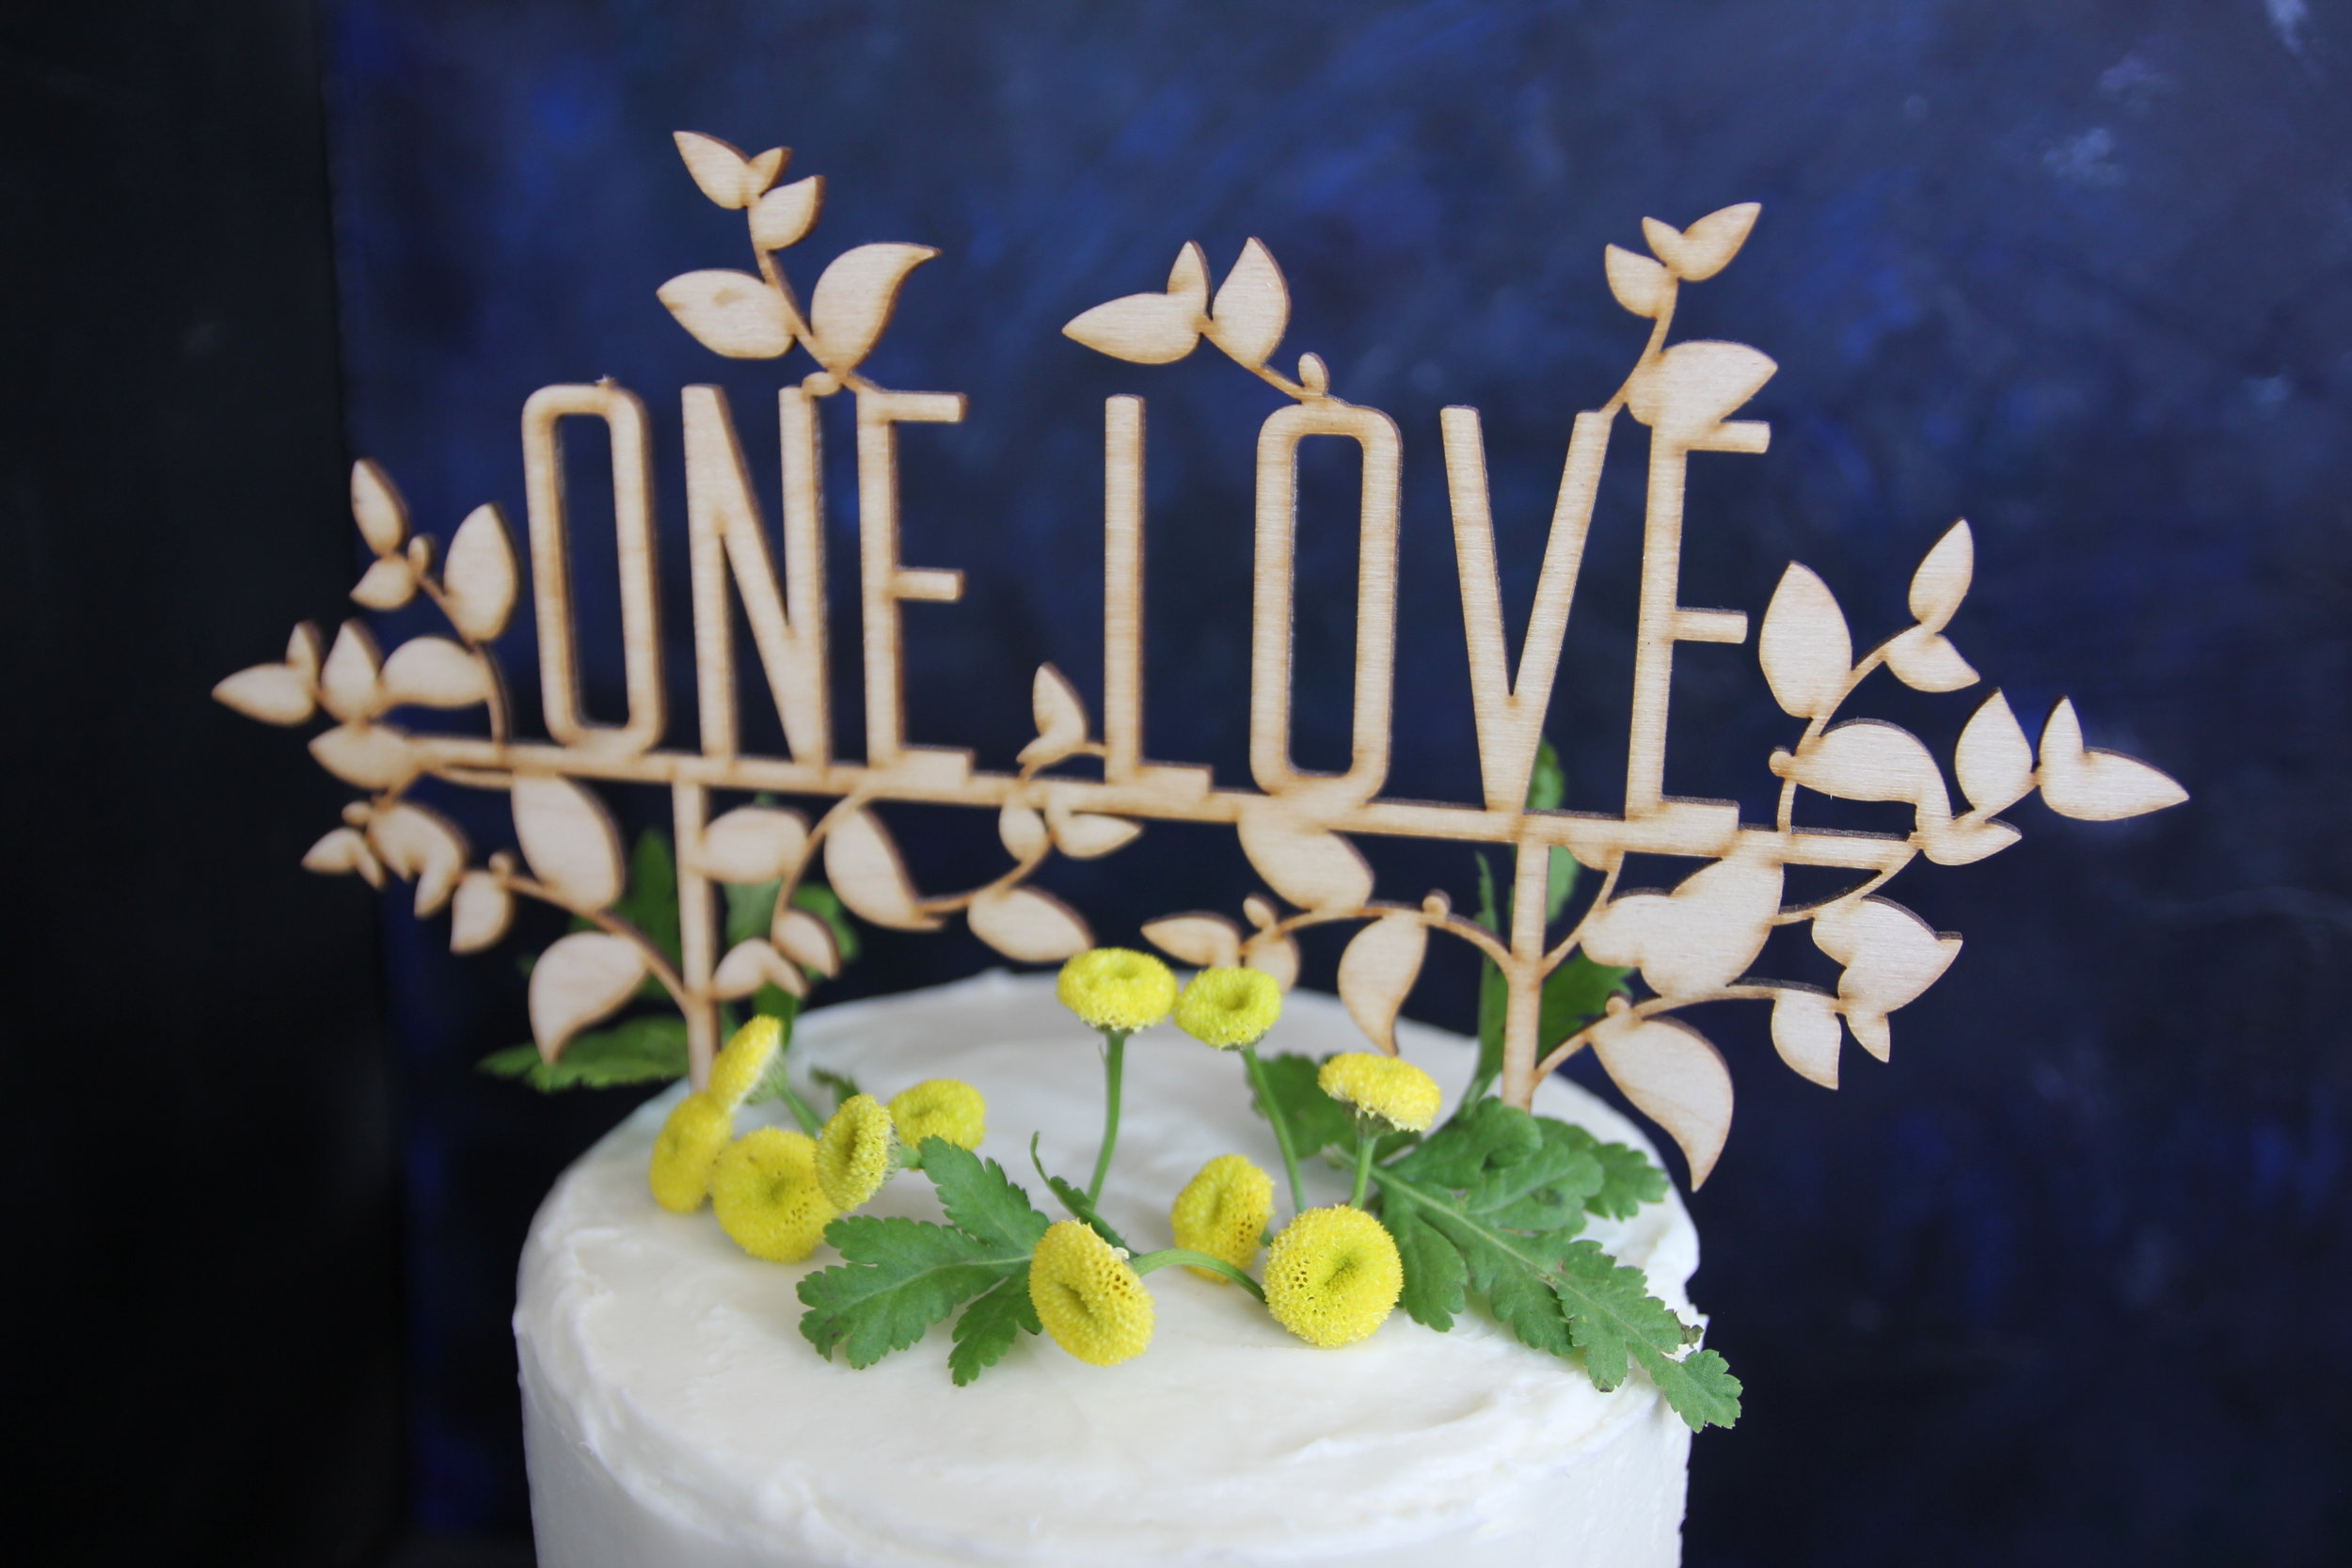
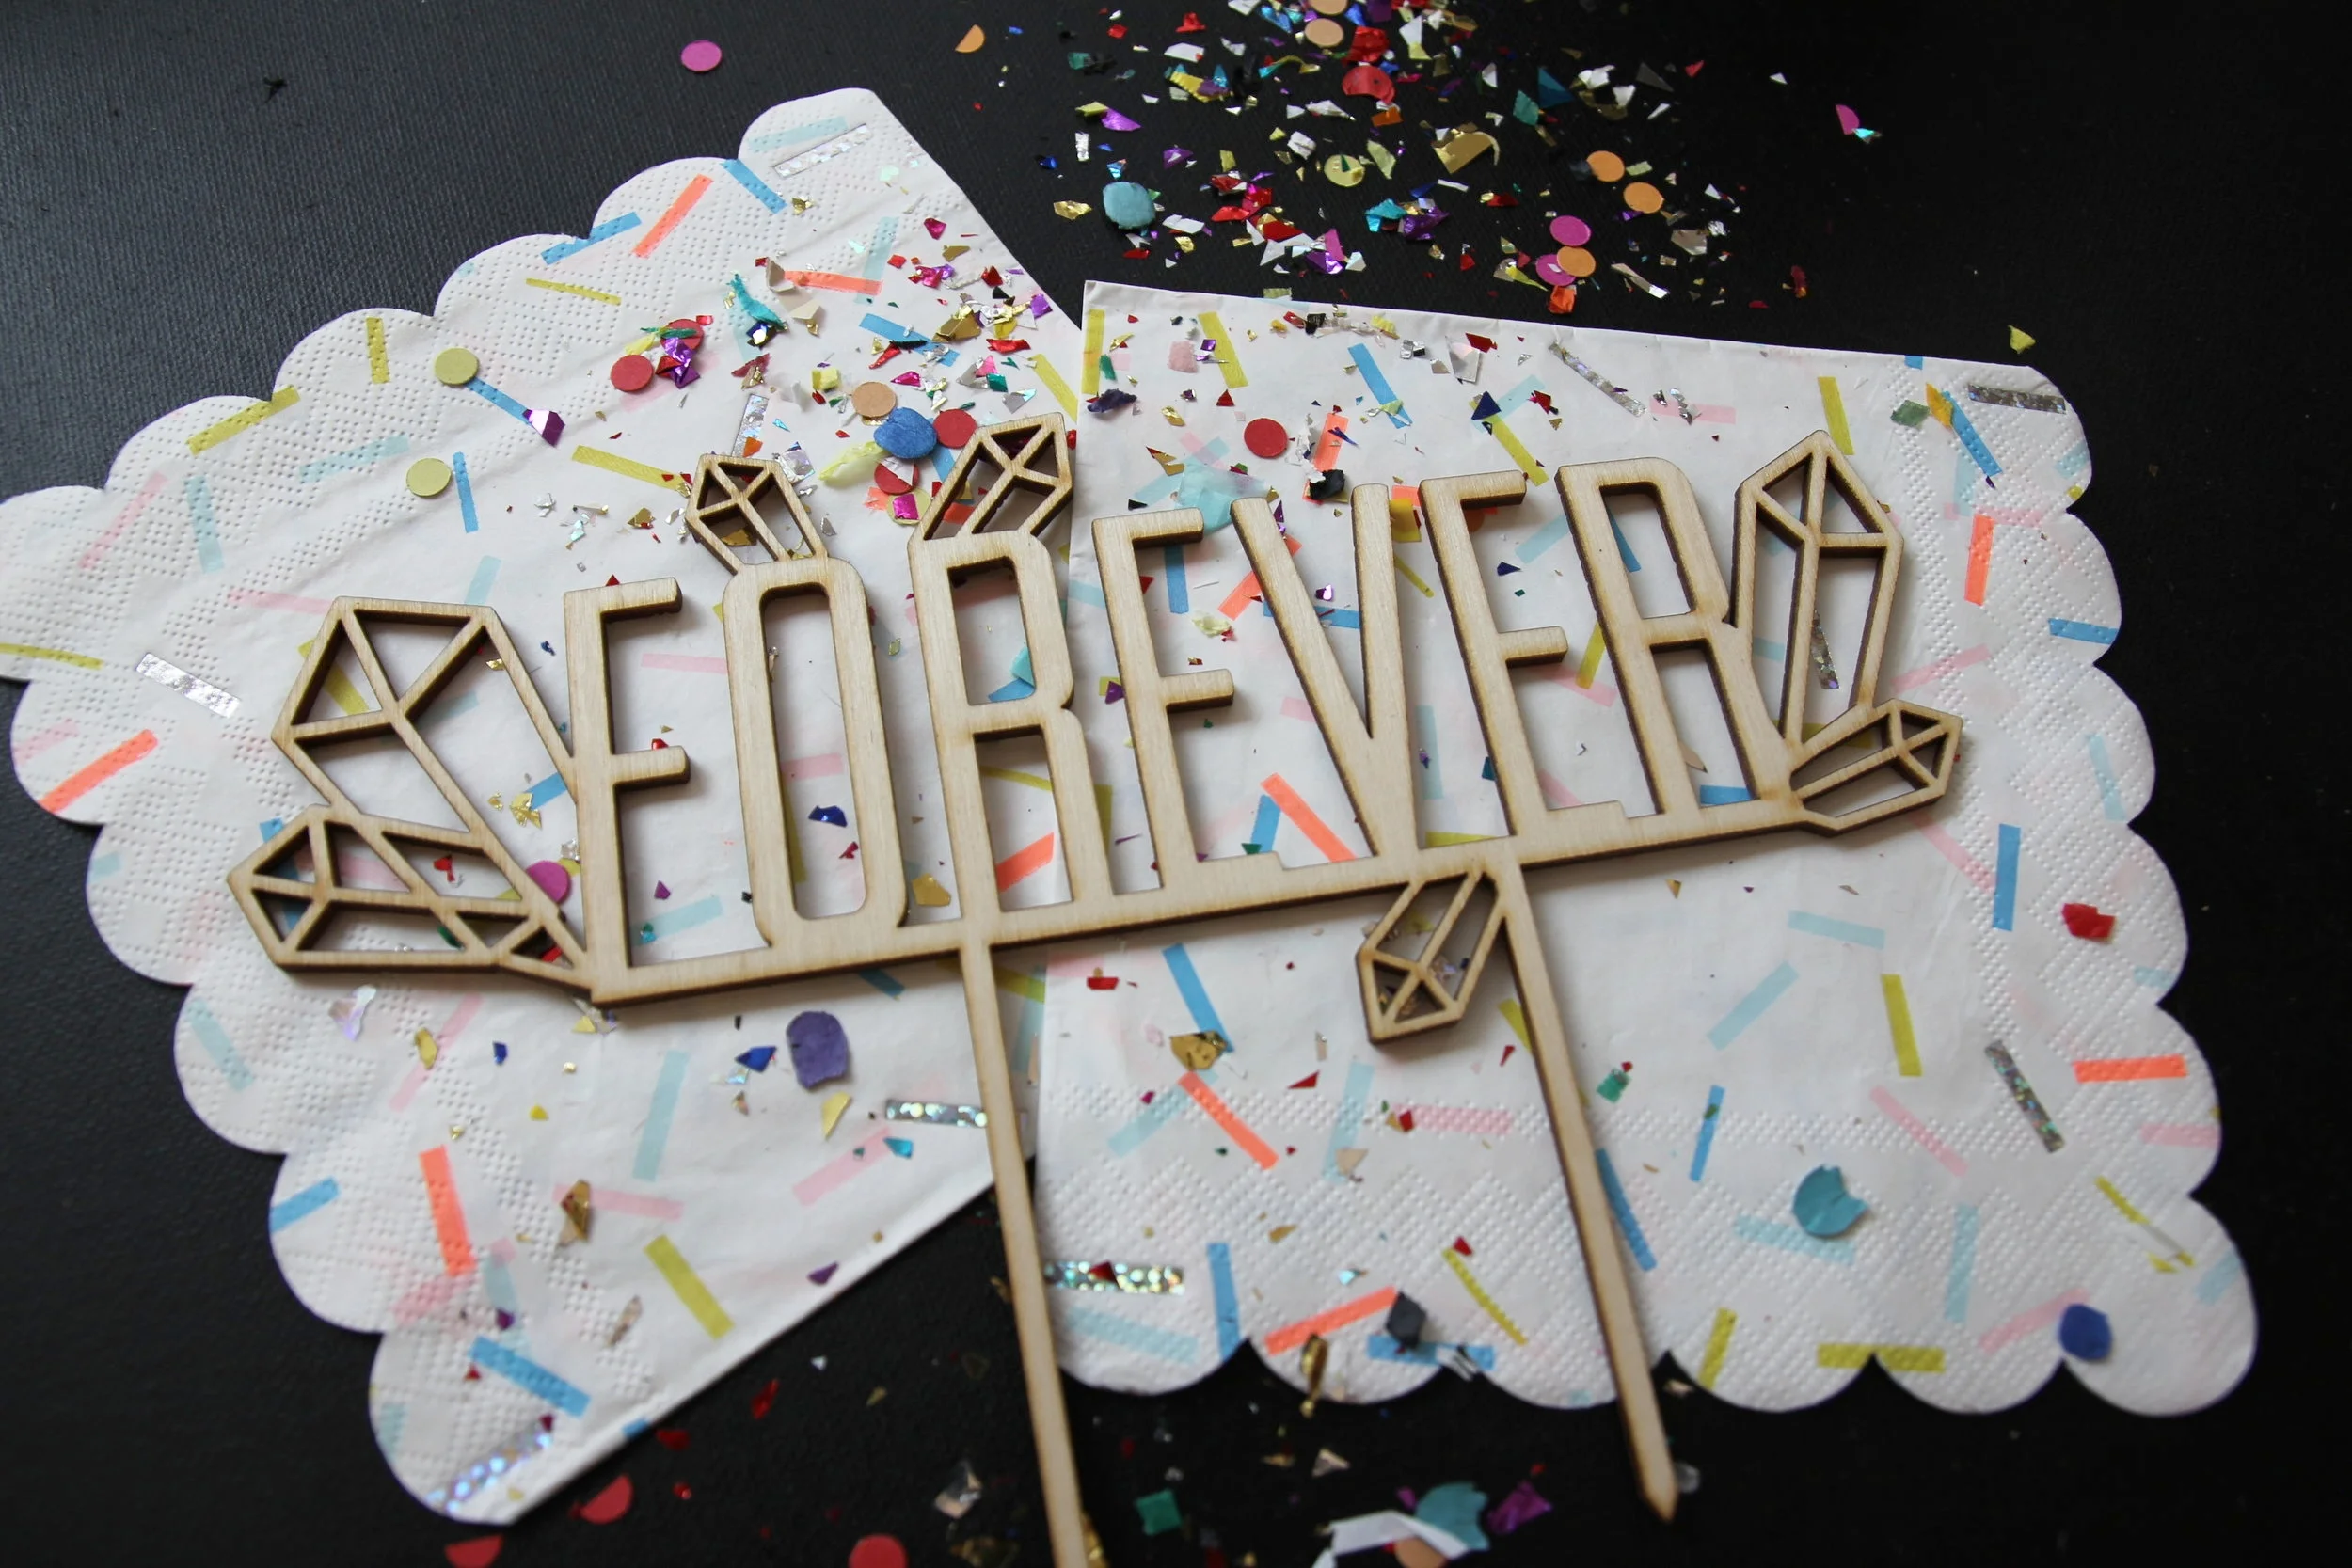
Cake Topper & Dessert Platters
Continuing with the somewhat musical theme I chose the lyrics from How Sweet It Is a la Marvin Gaye. You can now order this or your own pie-topper/cake-topper on my Etsy shop.
Wedding Favors
I made seed bombs for wedding favors out of air-dry clay, compost and Nigella seeds. I then laser engraved a rubber stamp to imprint a message onto tons of muslin drawstring bags.
Would you like something laser cut for you own wedding or celebration? Let me know.
Sequoias, or Sequoiadendron giganteum, are a native species to California, and are one of the tallest trees in the world (that honor goes to its cousin, and fellow CA native Sequoia sempervirens or California Redwood)! In Northern California and Southern Oregon there are Giant Sequoias you can walk through or even drive through. This tree in the video below is one of the largest, overall, trees on the planet. Watch it being climbed in a snowstorm:
I've been meaning to create an actual website for Moonish Goods for quite some time now. Items will still available for sale on Etsy only... for now. Poke around and let me know what you think!
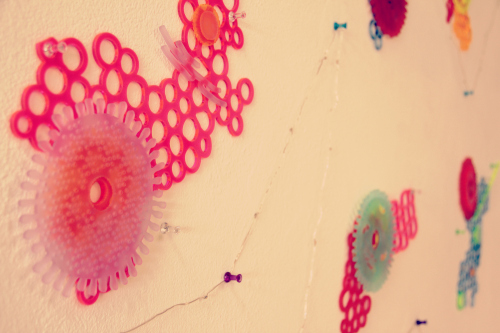
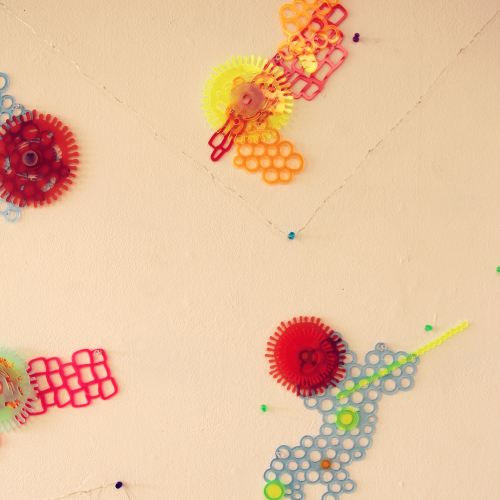
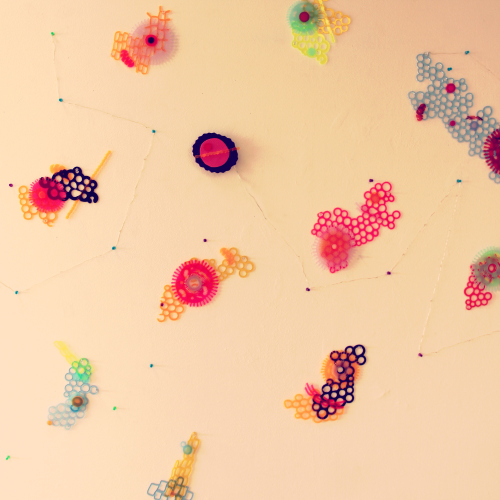
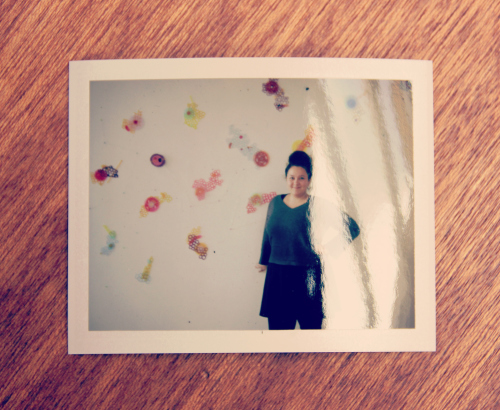
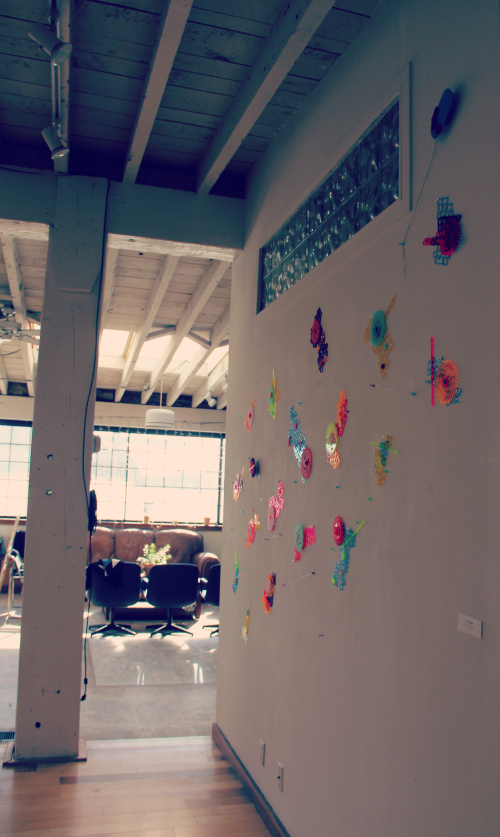
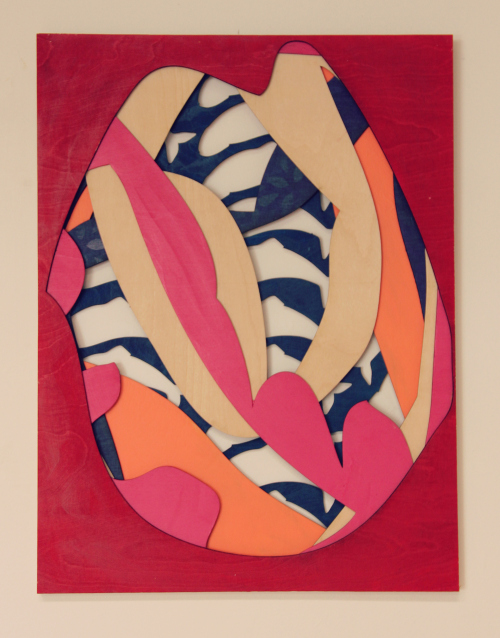
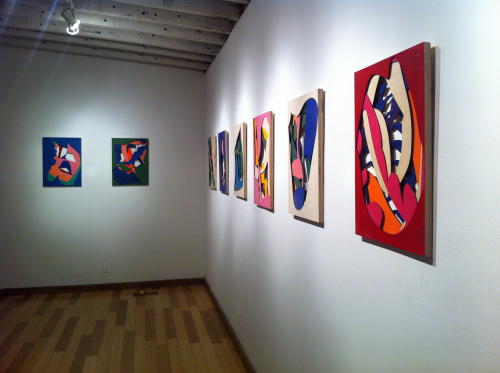
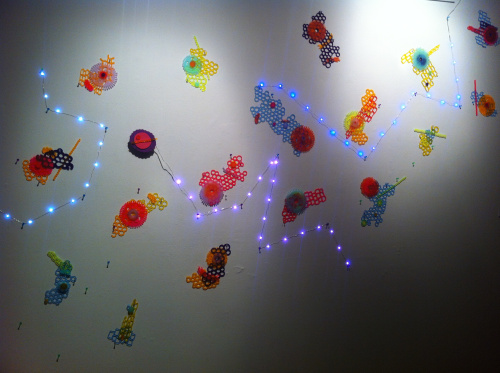
Man-oh-man! Life has been busy. Last month (actually, almost two months ago) was the opening of my art show Anatofantastic at Zughaus Gallery in Berkeley. I was inspired by that one Magic School Bus episode in which they shrink down and travel through Carlos’ (or maybe Arnold’s) body with a good hefty dose of Wes Anderson’s The Life Aquatic (which is in turn inspired by Jacque Cousteau).
Steve and Mario played some amazing looped ambient electronic music for the show.
Here are some photographs of the event and my pieces,
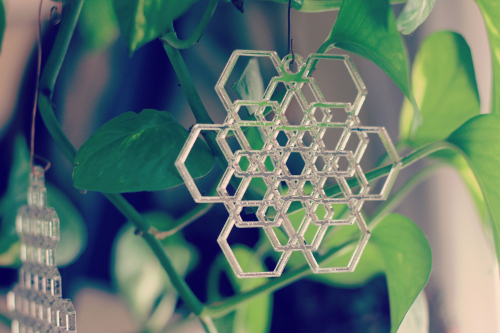
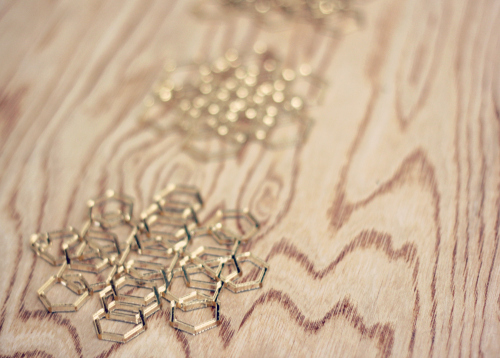
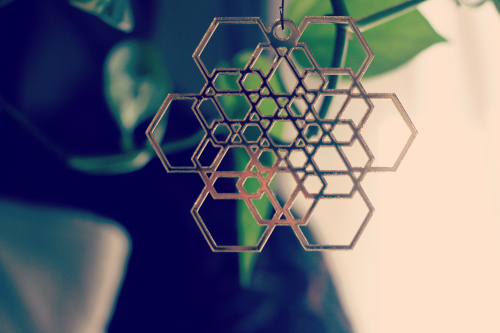
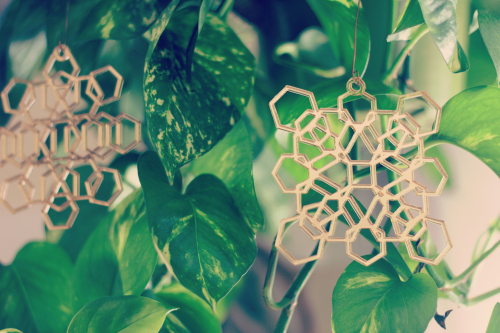
I recently added these intricately laser cut geometric snowflakes to the shop. I wanted to make something for the holidays with a modern twist. These first two sets shown are laser cut out of mirrored acrylic in both silver and gold. They sell in a set of 3 for $25.00. OH! And they were just featured in a roundup of 12 Geometric Ornaments over on Design*Sponge!!!!
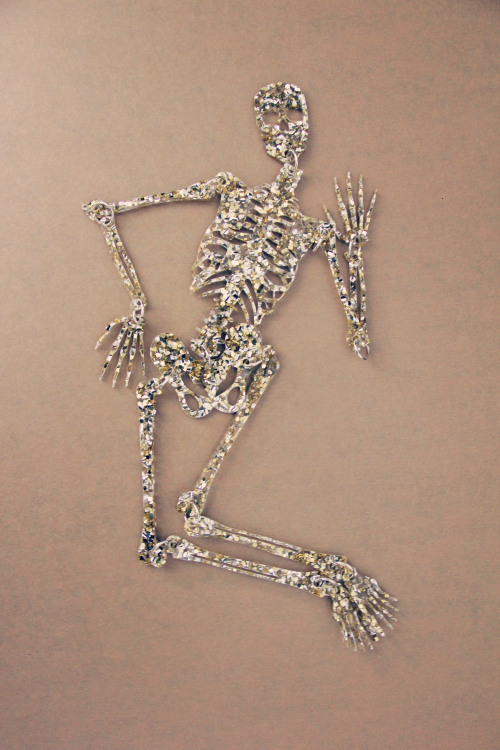
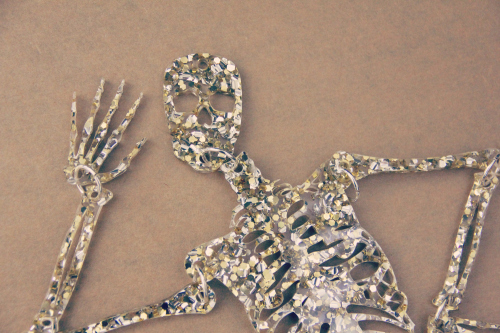
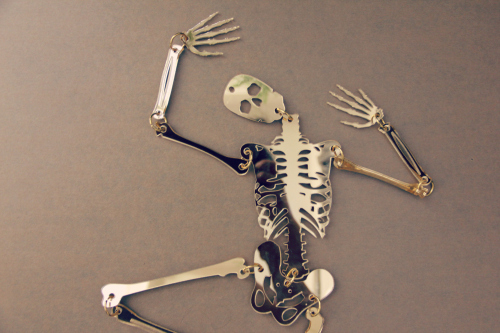
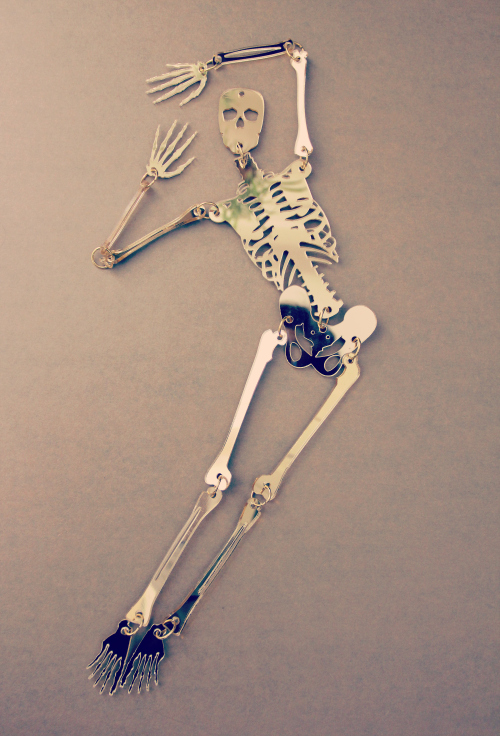
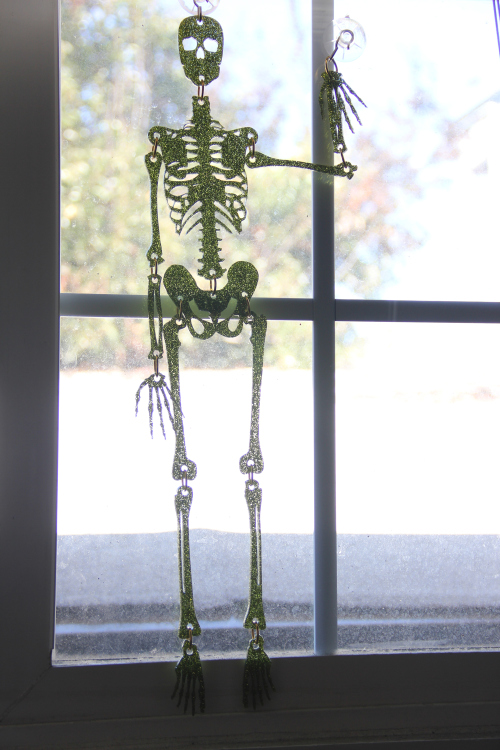
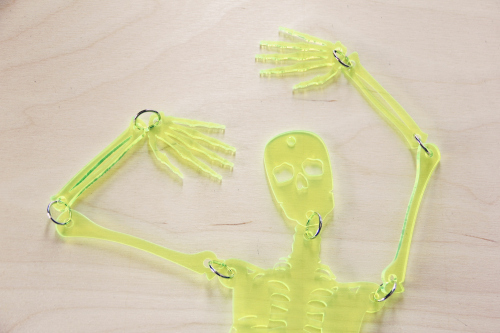
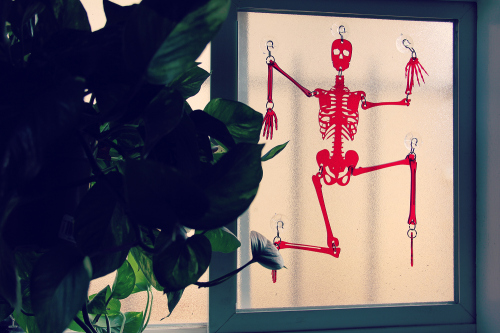
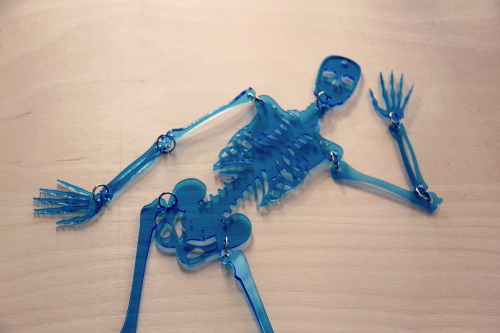
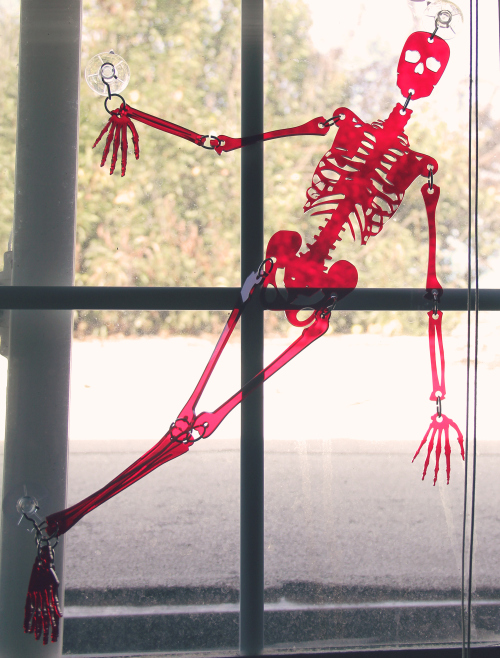
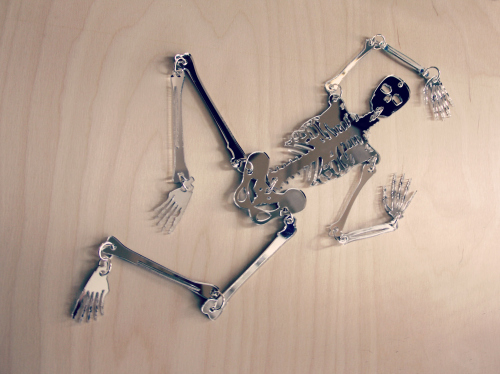
So excited about these new Window Bones. I got a bunch of neat acrylic from Inventables, including gold-mirrored acrylic, glitter acrylic and some more fluorescent stuff.
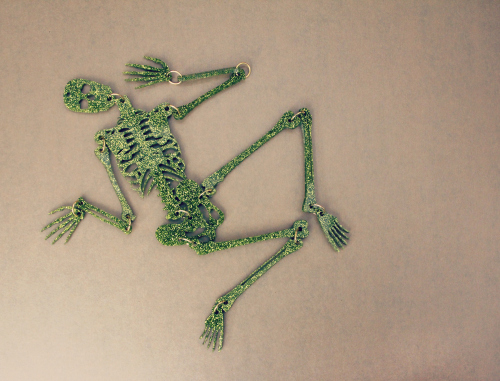
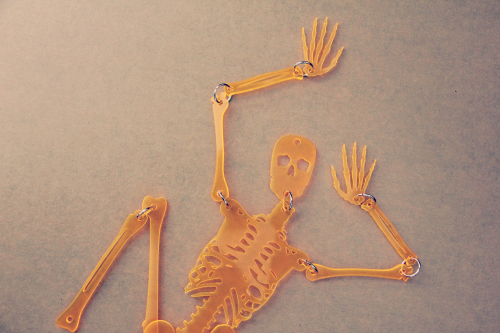
What has resulted are some outrageous new skeletons for my shop:
My sister, an anthropologist, mentioned one day how cool it would be to have a laser cut skeleton, so I made one for her. They’re fastened at the joint and come with several suction cups allowing you to pose them in your window. Oh, and they’re available for sale now, too.
Check them out on my Etsy shop – I’ll be adding more colors and sizes shortly.